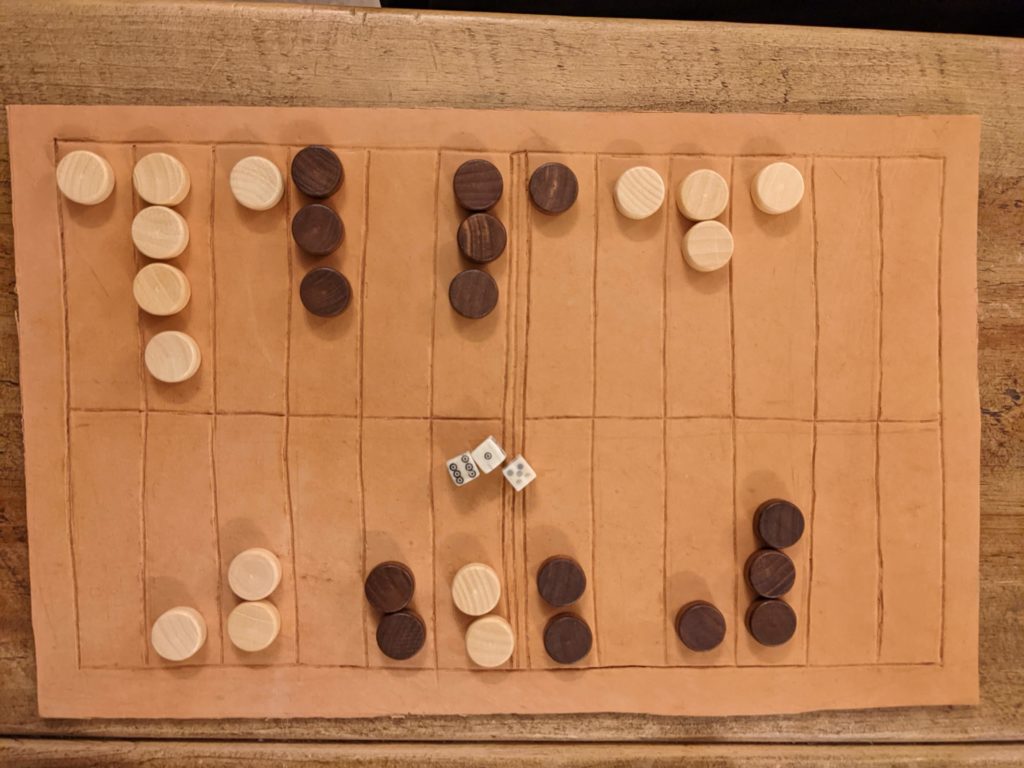
I completed my super simple tabula board this weekend. It’s tooled leather, which I know isn’t right, it should be wood. But I will explain this to the public, and it’s portable, and uses authentic material and techniques, and I was able to actually make it in the time available! It is wonky as anything, which is deliberate in that I think a ruled look is not right. It’s a thickish bit of leather which I soaked in cold water, then I used a large flat-bladed screwdriver and a mallet to hammer in the lines, going over them with the edge of my weaving sword to smooth them out. I’ll wax the leather once it’s dry.
The dice are bone and I bought them at the re-enactors’ market; the counters are wood from Hoyles’ games in Oxford. One day, I mean to plane down my yew wood planks, assemble them with a carved border, and make a posh proper wooden board. But today is not that day. And I can now play all the mediaeval tabula games which I researched on something more suitable.
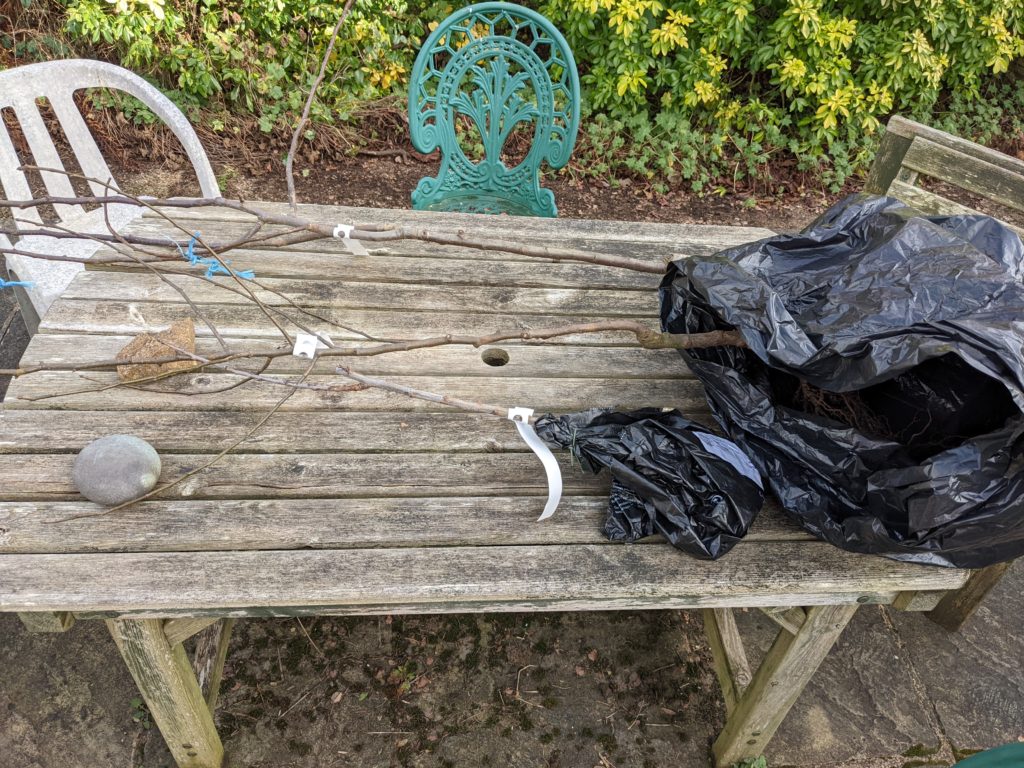
The tree specialist in the next village sold me three new fruit trees for the orchard. They had to sit in the shed with their lower appendages swathed in bubble wrap for two days until we had time to get out and plant them. What have we got?
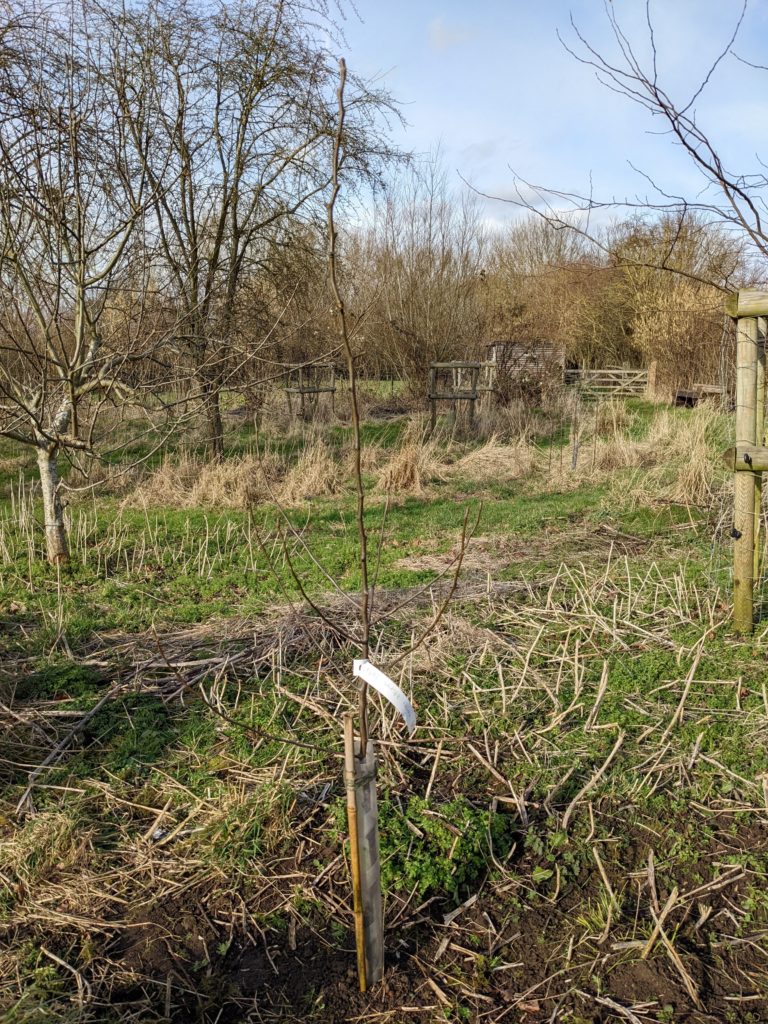
Pear: Winter Nelis. This is a heritage variety known from the early 19th century and its pears are apparently not a super pretty fruit, but sweet with a good flavour. And they’re said to keep into January. On the down side the tree prefers a sheltered spot and our orchard is quite exposed with the chilly meadow to the west.
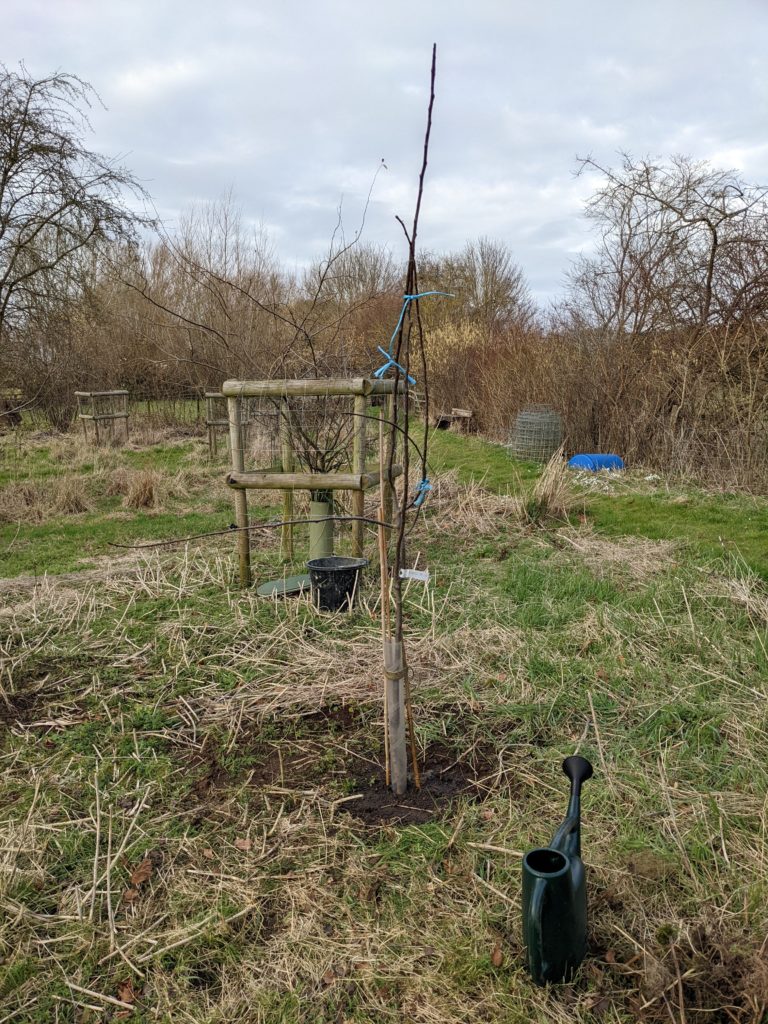
Pear: Jargonelle. First recorded in 1629 but thought to be older, so a great pear for our early mediaeval orchard. It’s an early pear but to my surprise, our existing Louise Bonne and the new Winter Nelis are apparently all suitable pollination partners. The tree man knows his stuff!
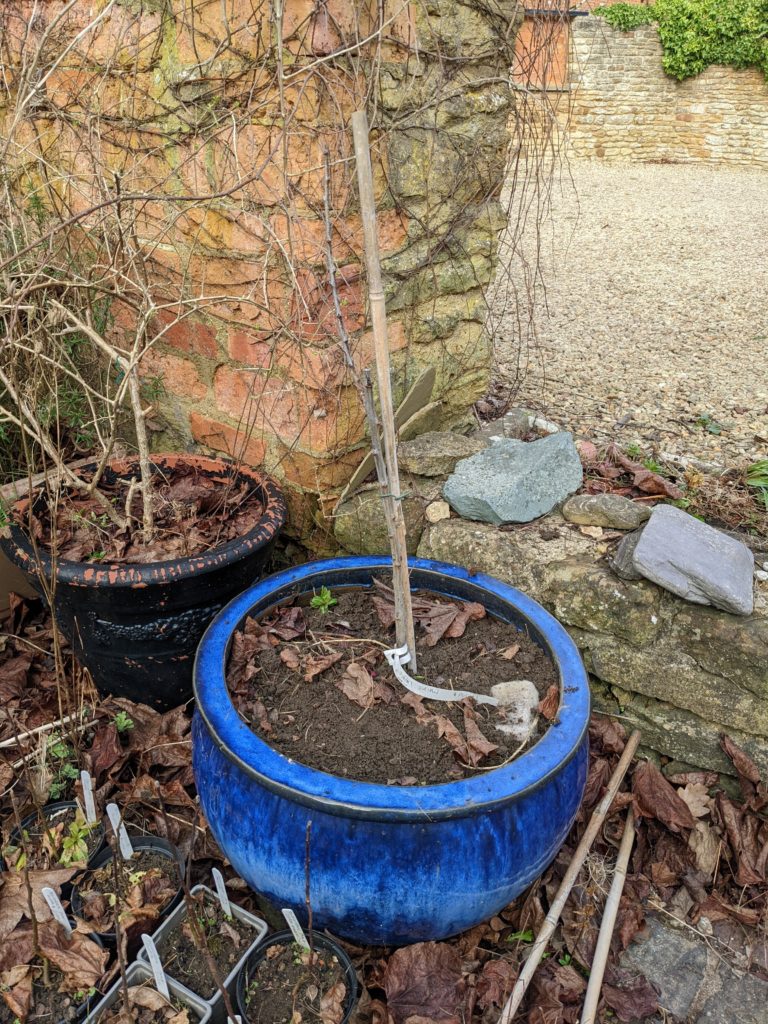
Plum: St Julien. I found very little on t’internet about the St Julien as a tree in its own right, as it is so widely used as a rootstock. But the tree man said it produces a tasty green plum, and is actually one of the earliest cultivars around, so a great fit for us – and unusual, which is part of our thing. One forum post suggested the fruit is best dried, but another described the fruit as complex, sweet when perfectly ripe but potentially acidic. I am excited to let this little tree develop naturally and do its thing, whatever it turns out to be!
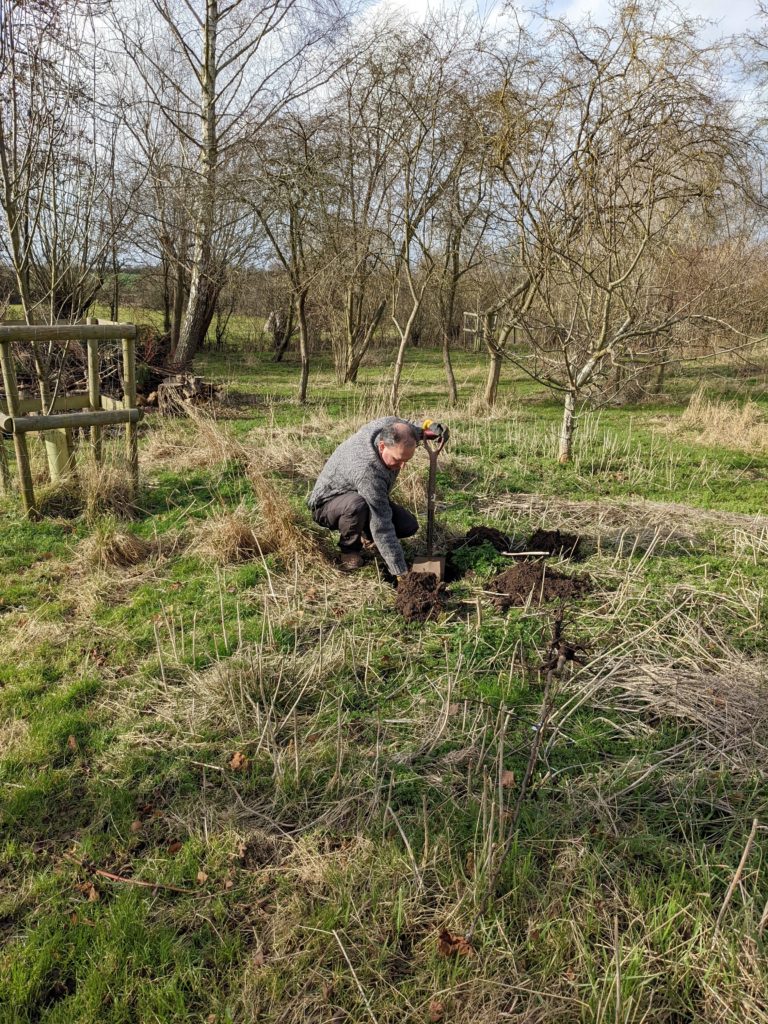
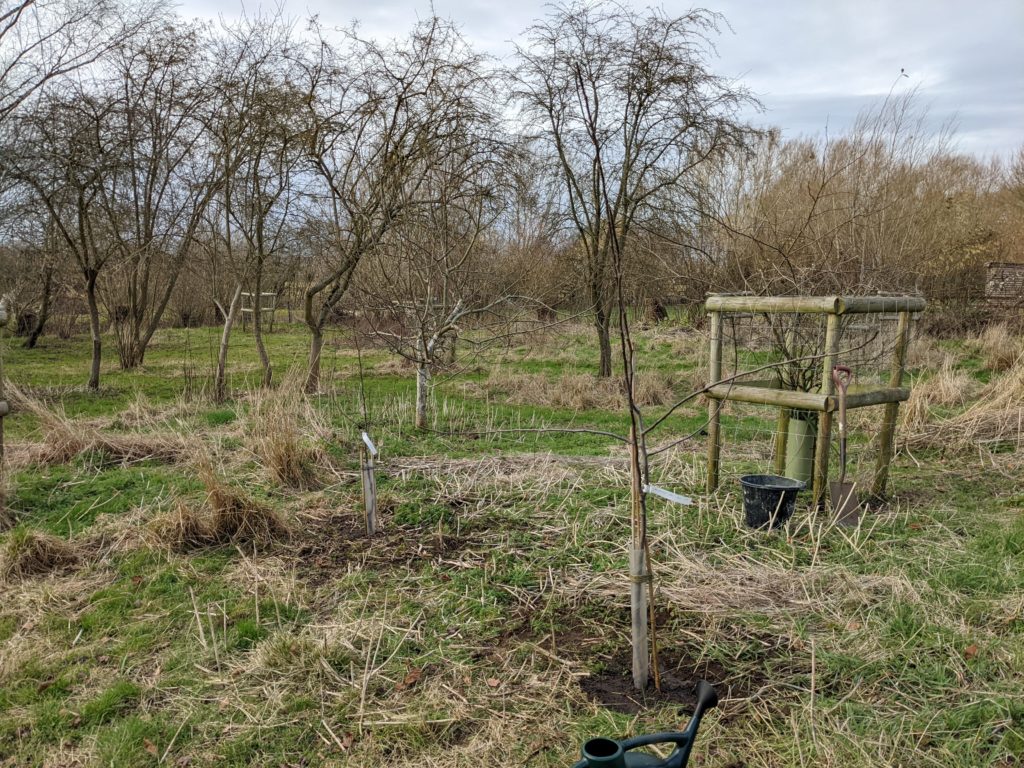
The trees as they were delivered!Al digging a hole for the Winter NelisThe neighbours’ pony taking an interestIs that a very small grave? No, it’s a hole ready for my tree!And here is my Winter Nelis all planted!The Jargonelle in placeBoth new trees!
The Jargonelle and Winter Nelis are quite close together, and to the quince and the Hambledon Deux Ans apple, but the I couldn’t choose between these two and had to have them both, and they needed to be planted further from the place where they diseased Victoria plum was removed last year, which restricted my options somewhat. I will need to keep them relatively small but that will make it easier to pick the fruit. Anyway, more trees for the win!
The St Julian, free to grow its own canopy
Finally, the St Julien plum is so small that I decided to stick it in a pot for a year or two to gain some height, otherwise we’ll lose the poor thing in the undergrowth. This pot had dwarf beans last year which didn’t do well and anyway are an annual, so there was a handy pot with soil and no plants. I might try beans around the side this year and hope for a better harvest. They actually did better in 2019 even though the sheep got out and had a munch at them before exploring the road (and then retreating swiftly when they saw the cars).
Yup, I’m going on and on and on about the arches. But they’ve been a long time coming and we love them. Suck it up.
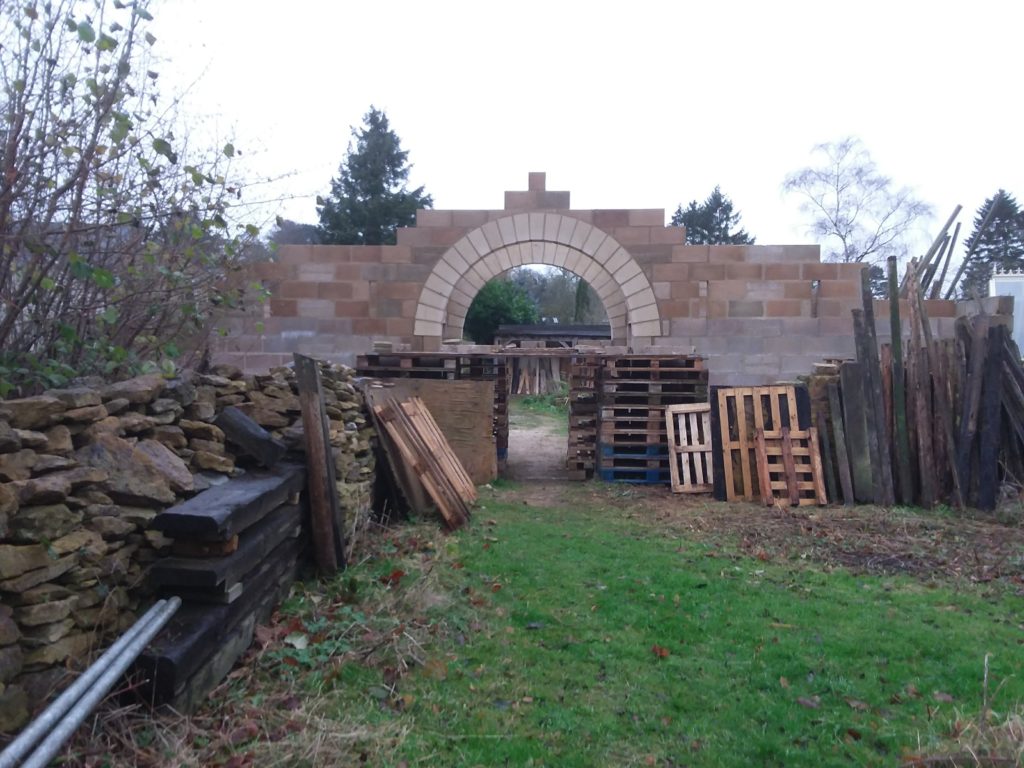
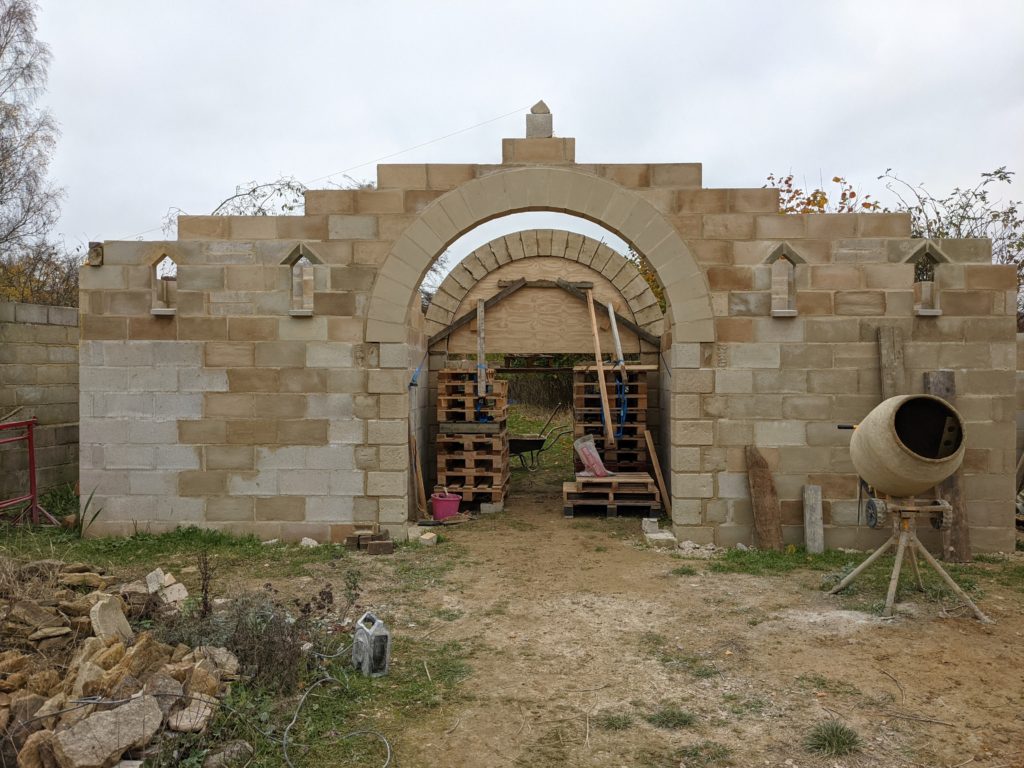
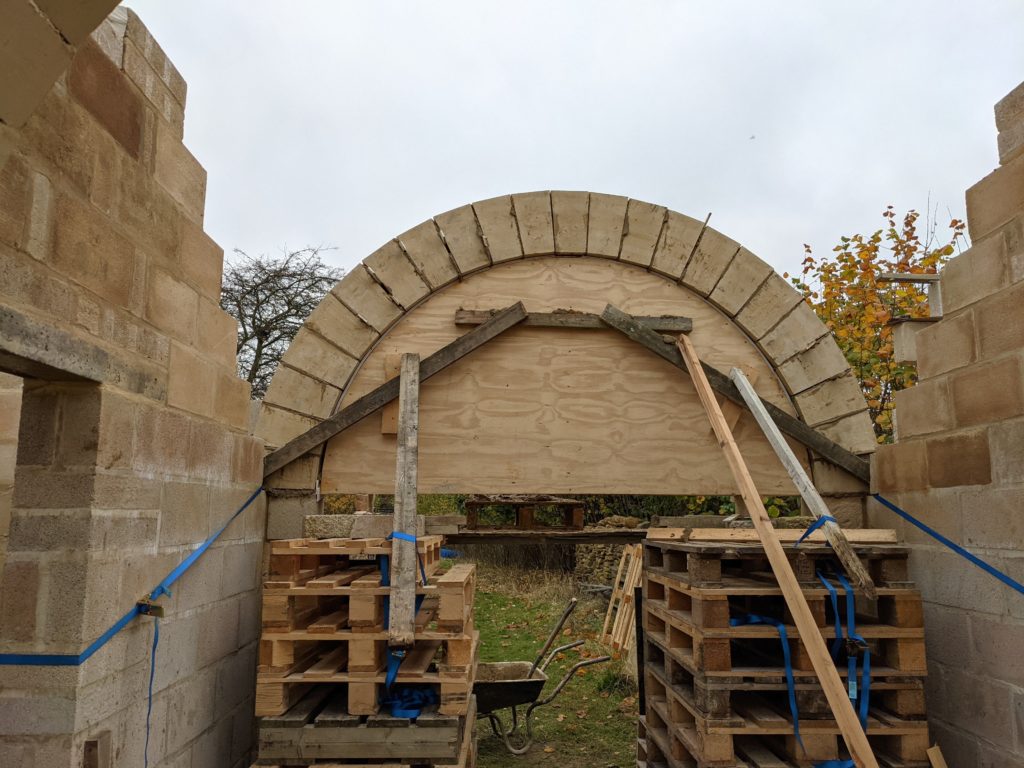
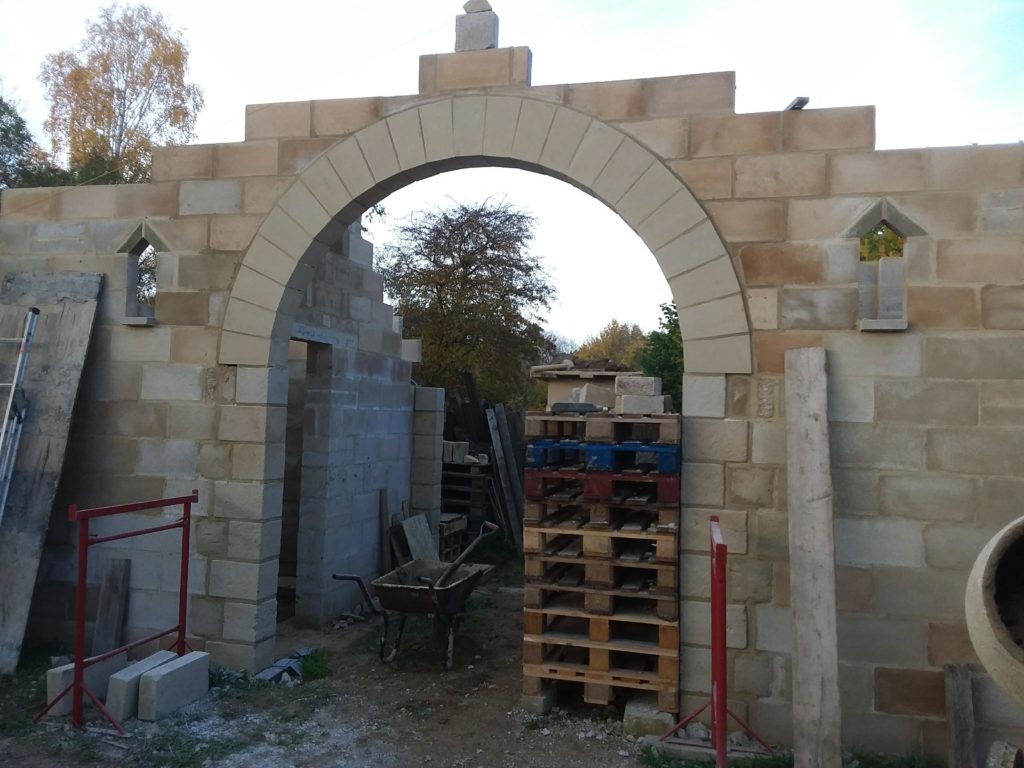
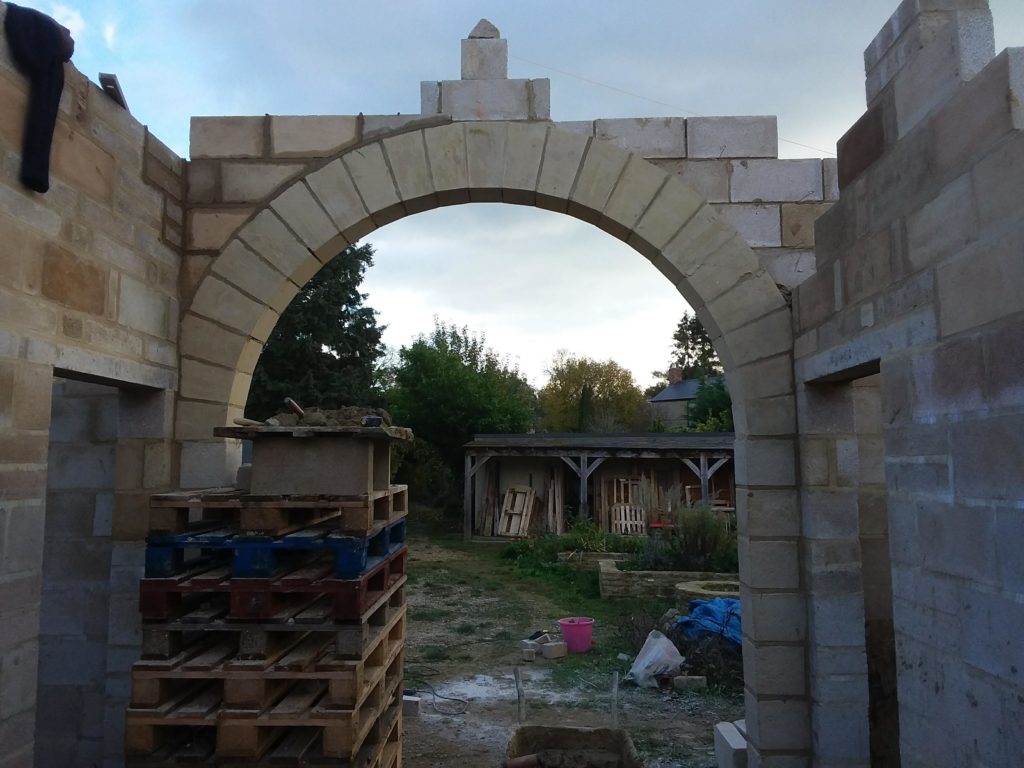
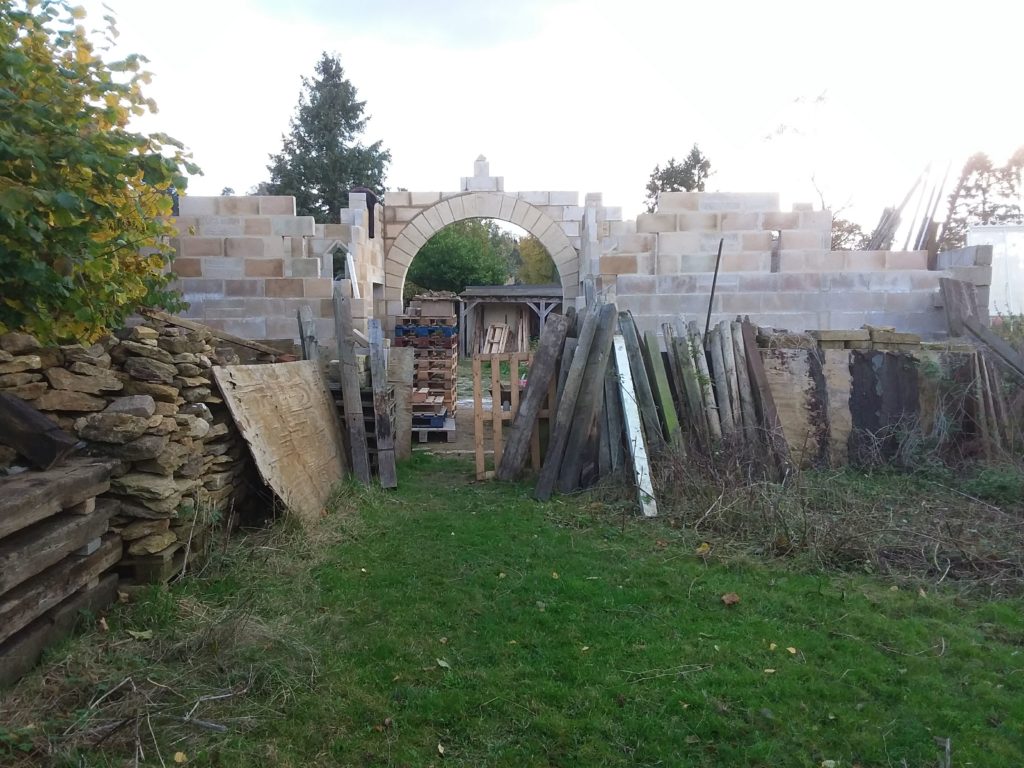
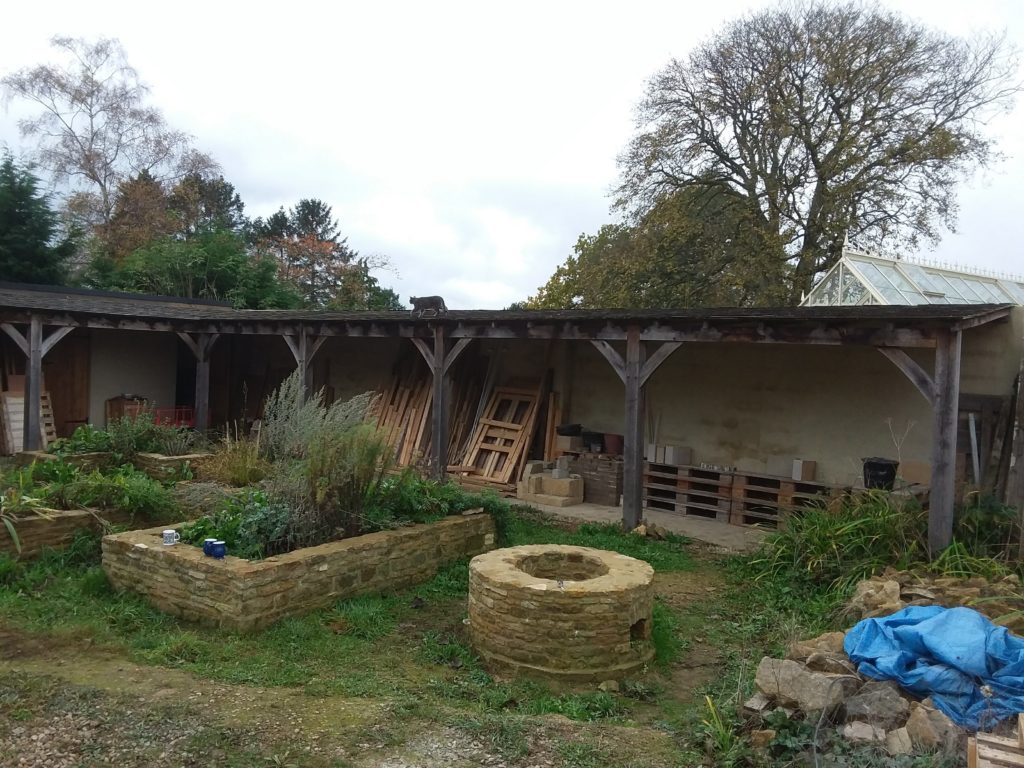
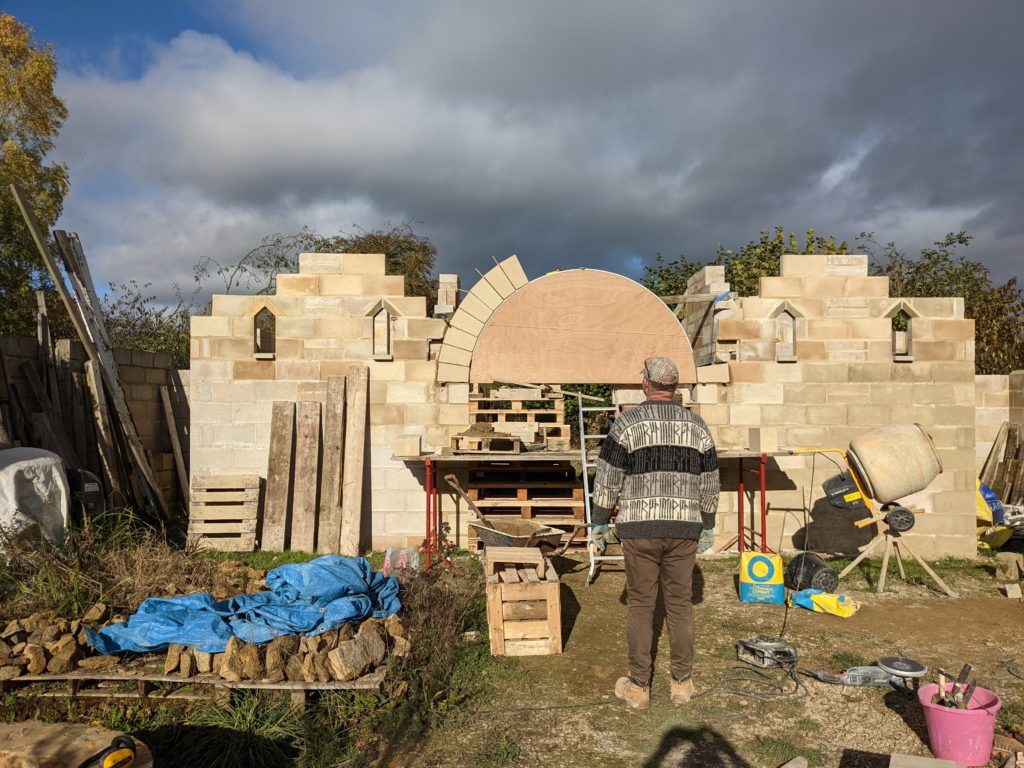
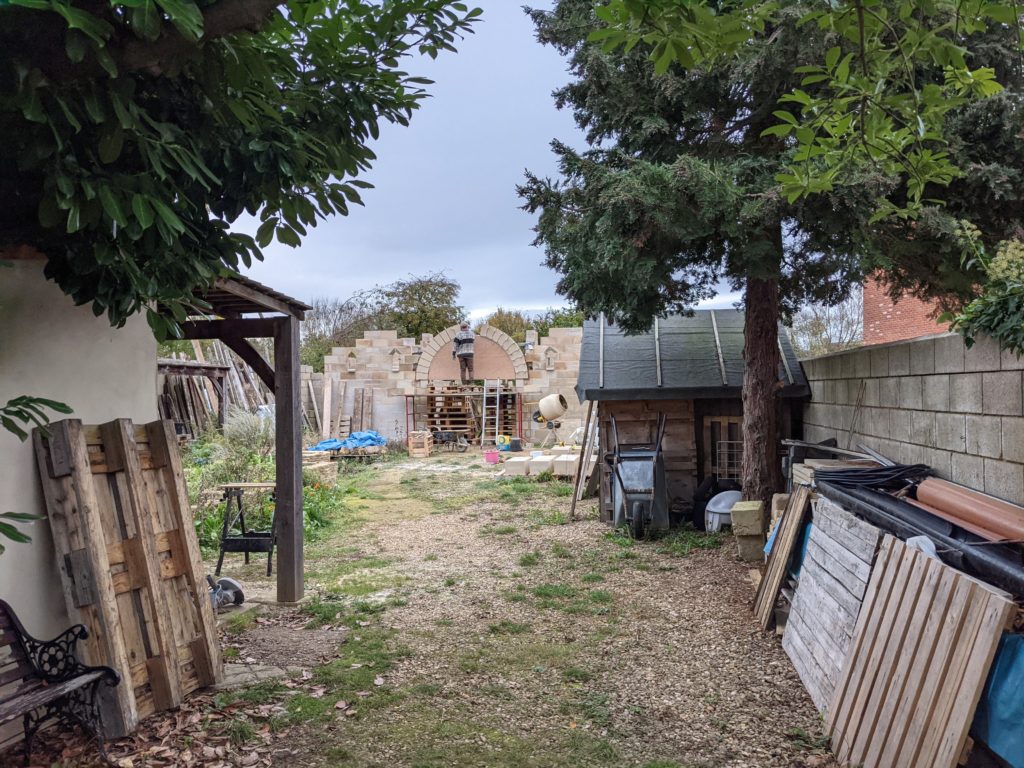
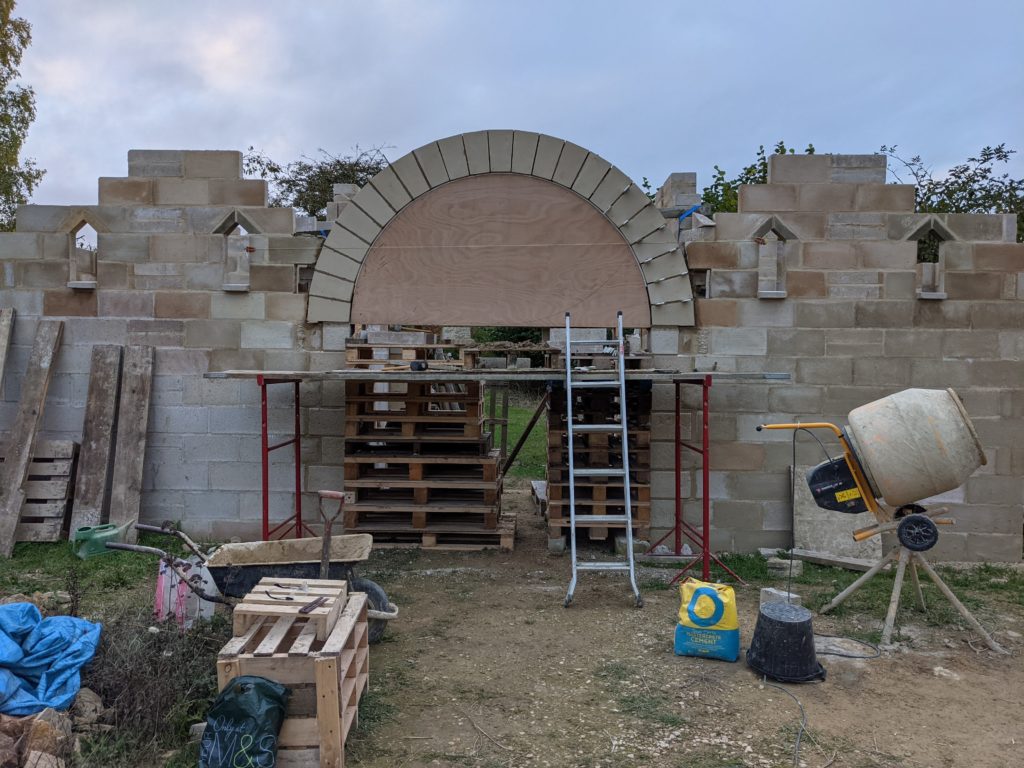
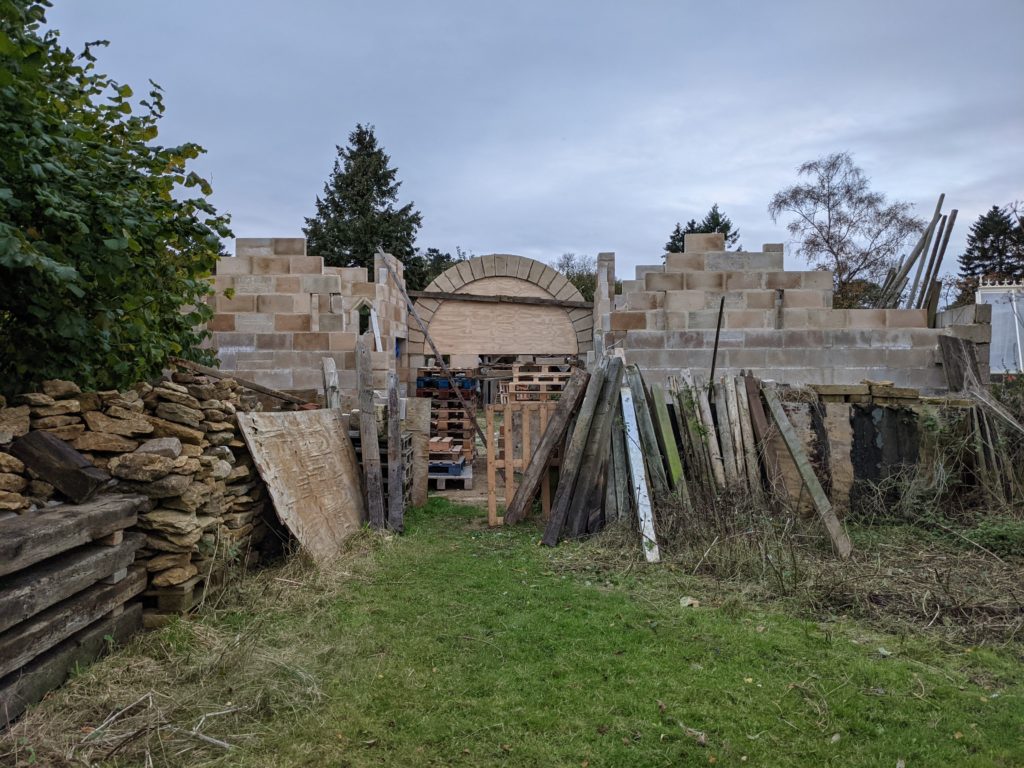
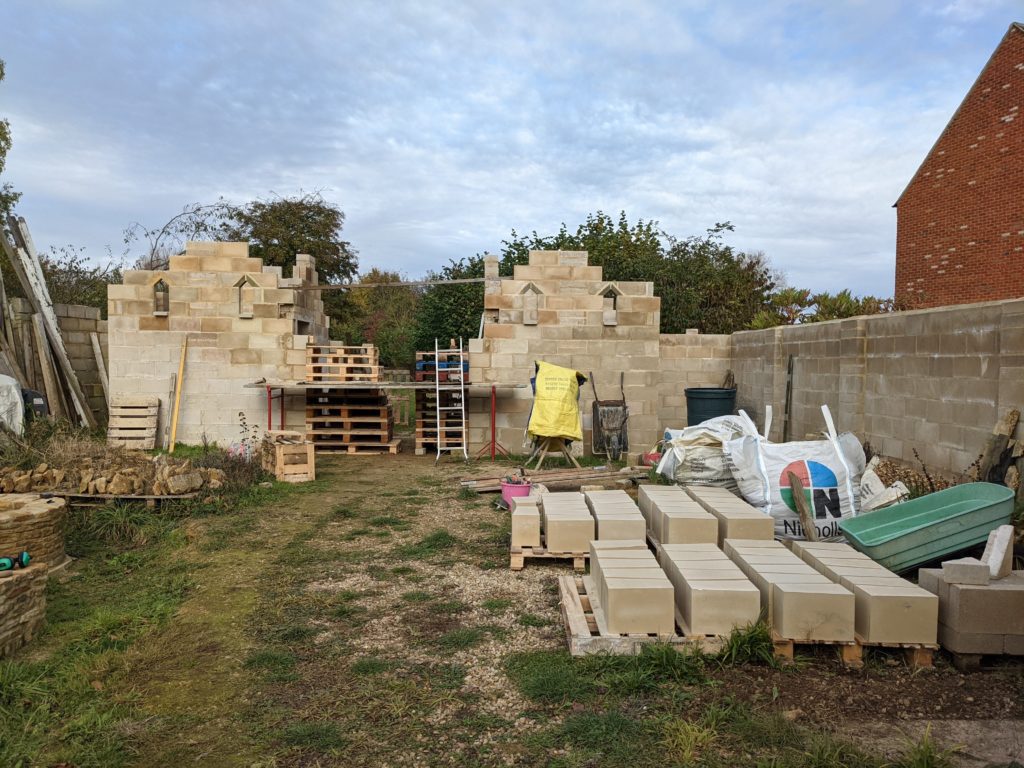
My first daylight view of the arch after the former was taken downView from the north. The pallet pile will stay in place until the walls are done, so a bit of care is required going in and out.
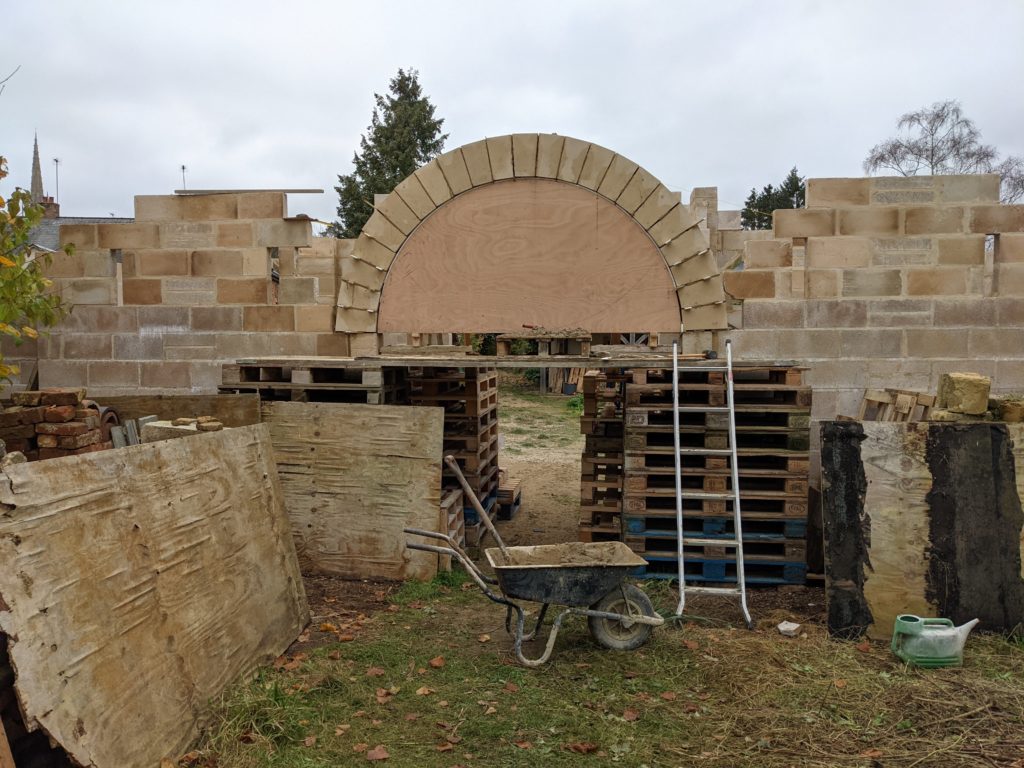
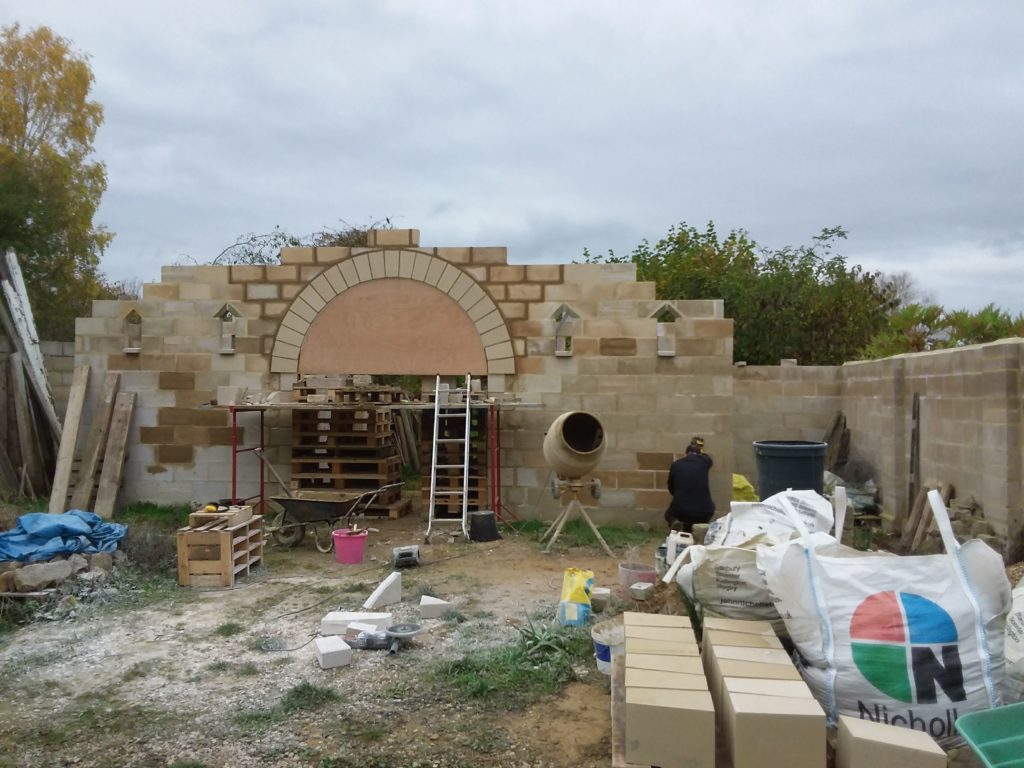
The former has been reset and the outer arch of the gatehouse is under way.
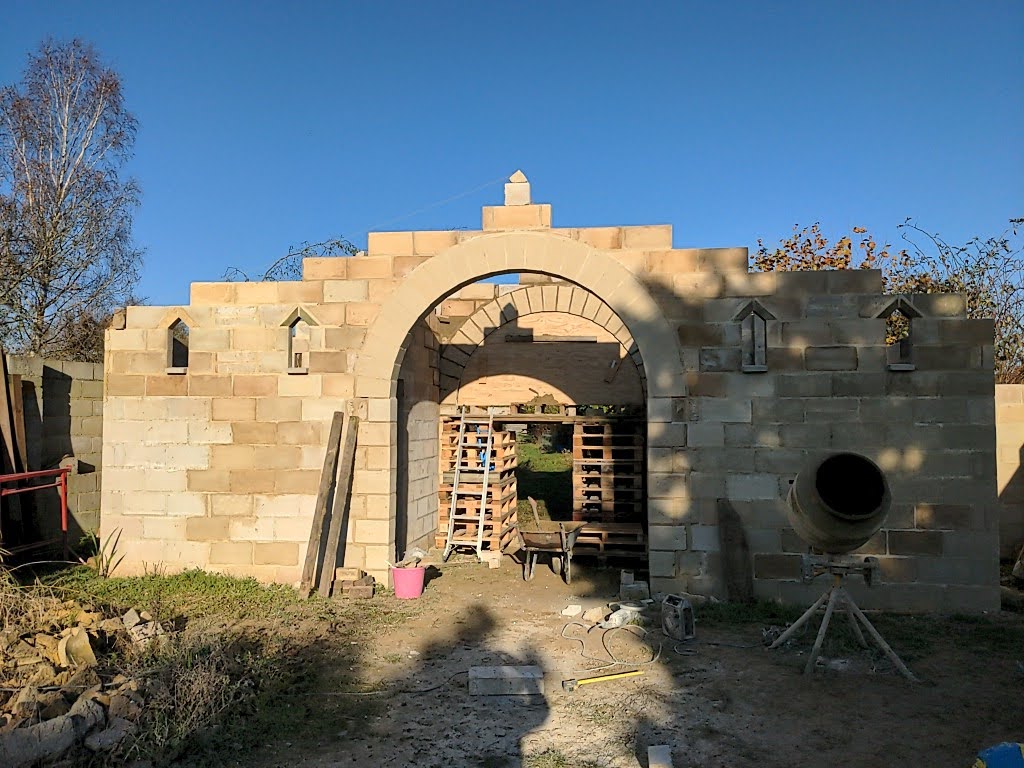
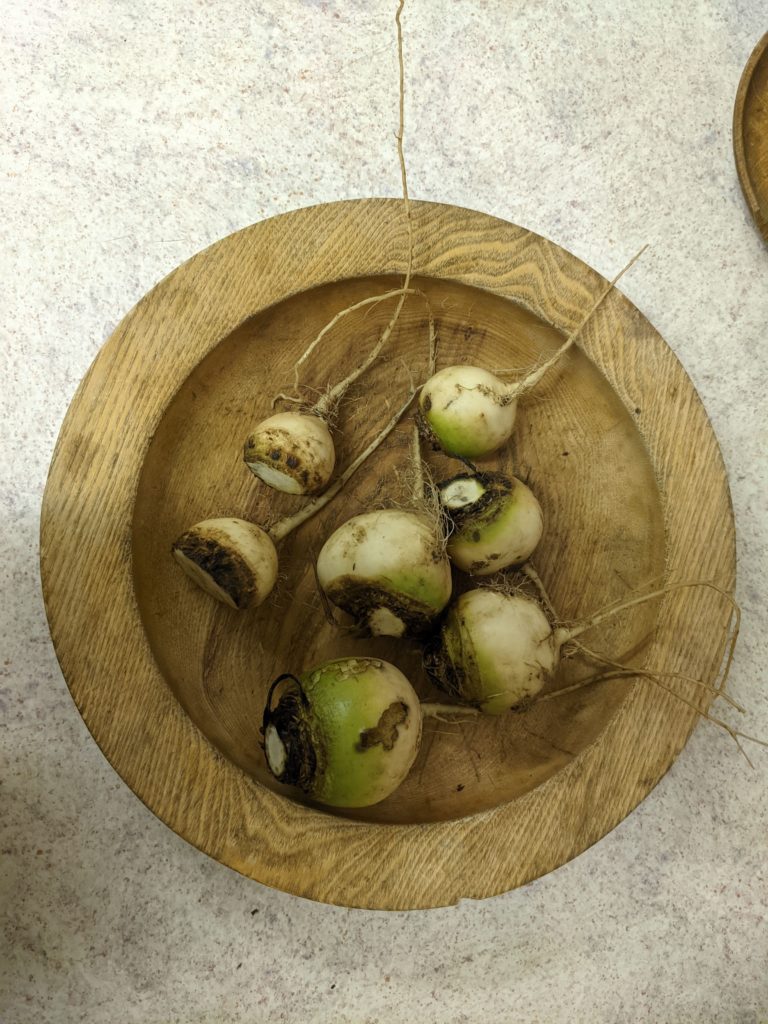
The former is not going anywhere despite the forecast strong windsI love the curves of the shadow cast by the inner archAl and Chris covered the arch with sheeting to help keep the frost off while the cement curesBonus white beetroot from Rumwoldstow garden. Taste better than they look.
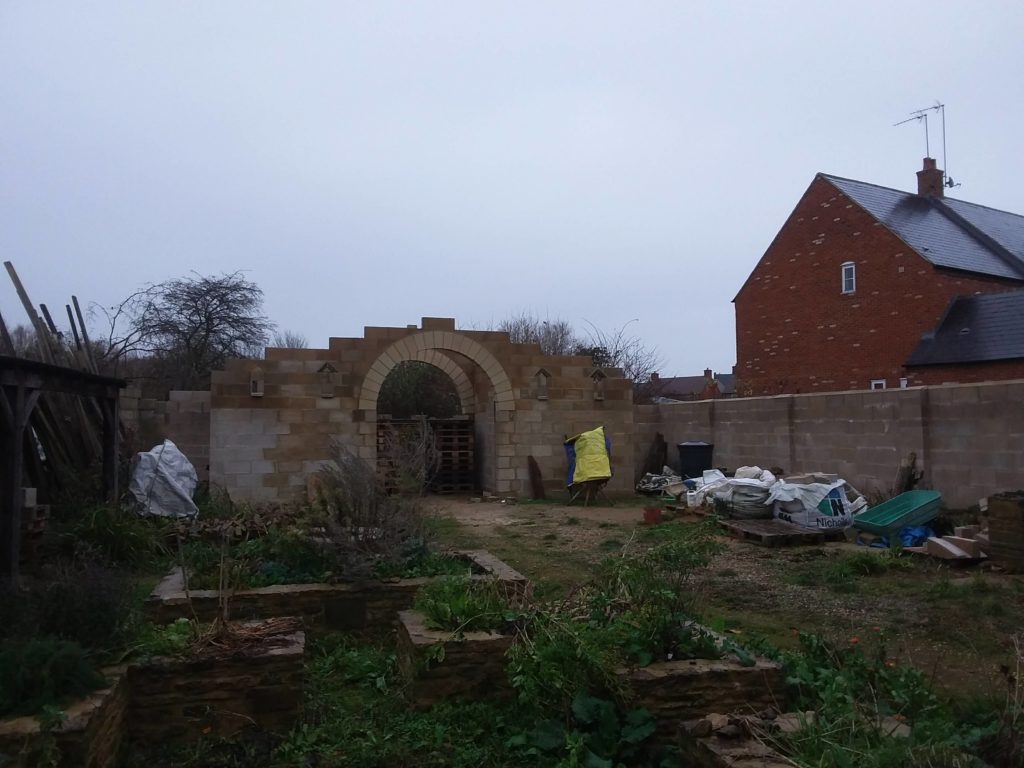
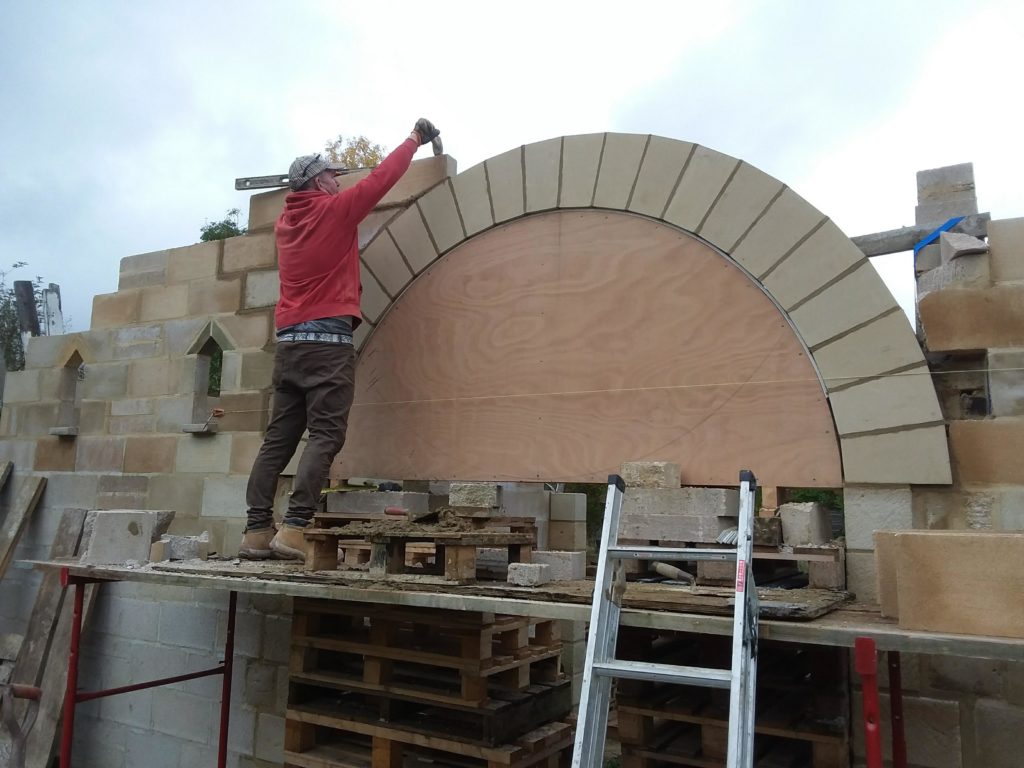
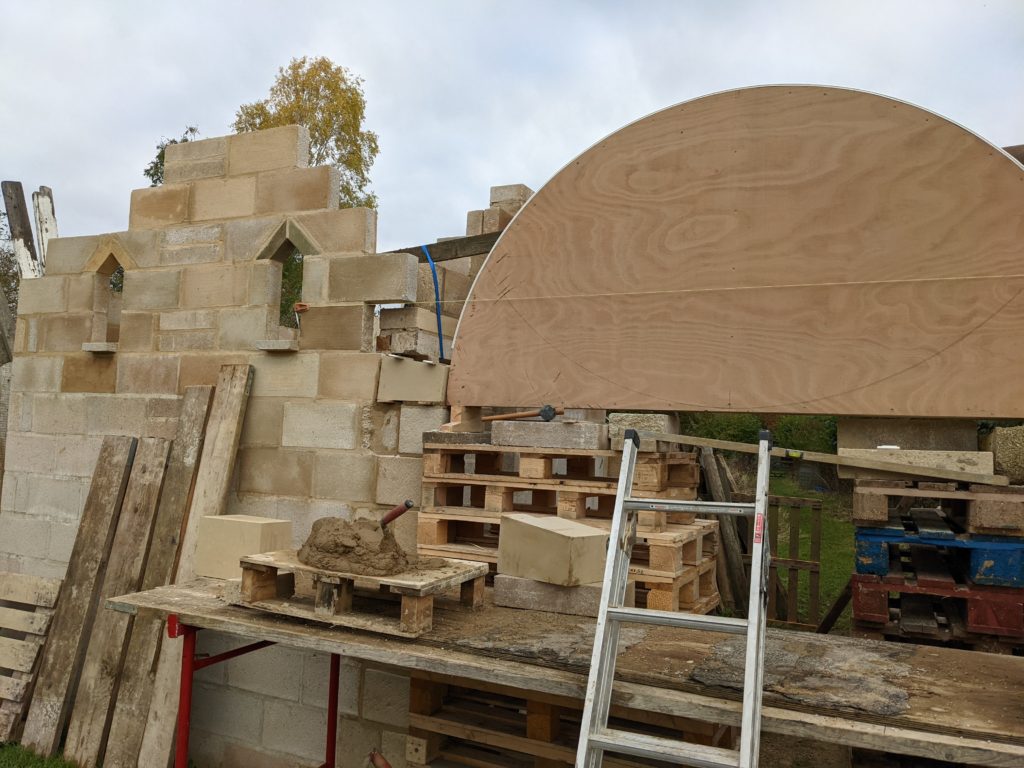
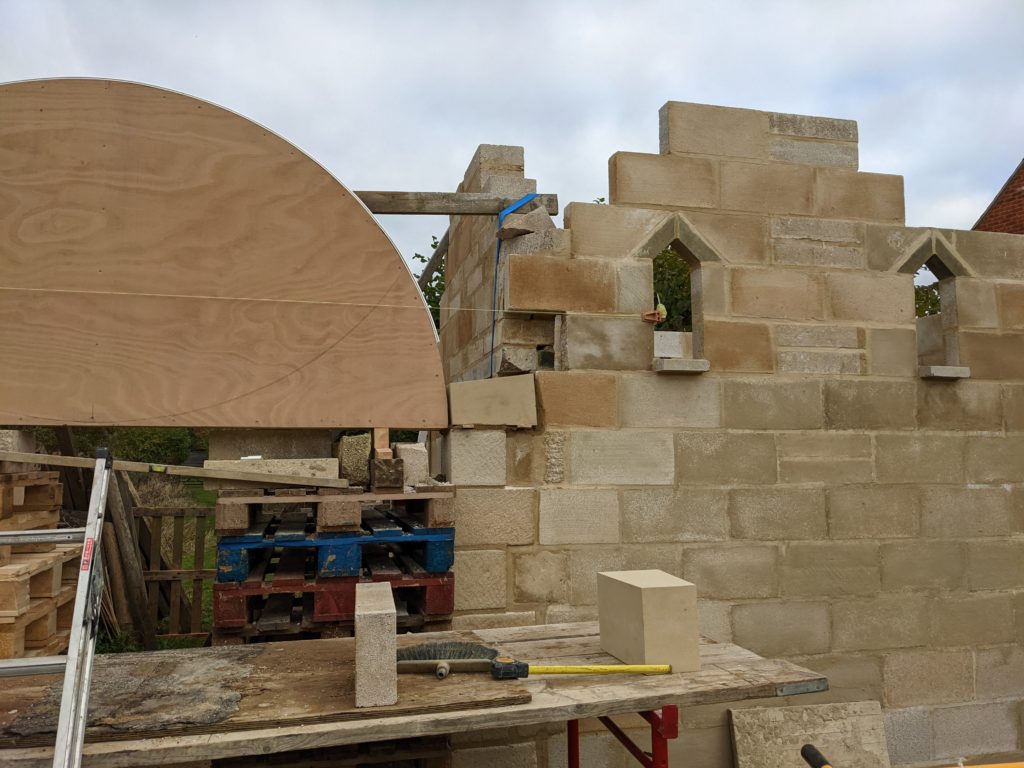
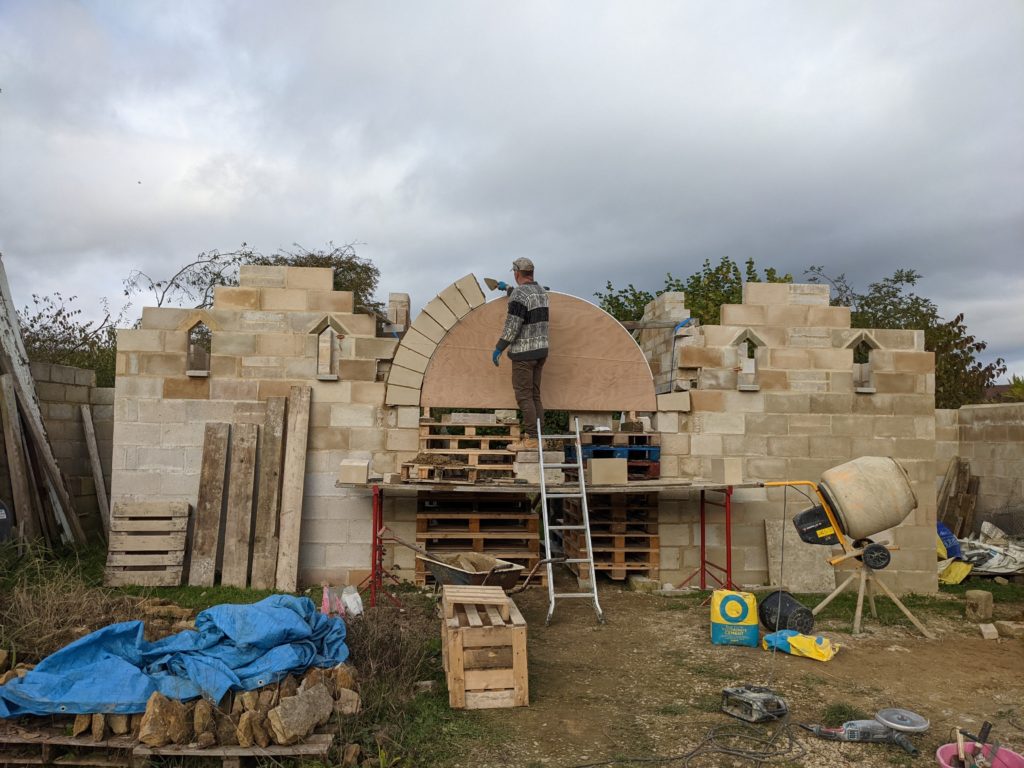
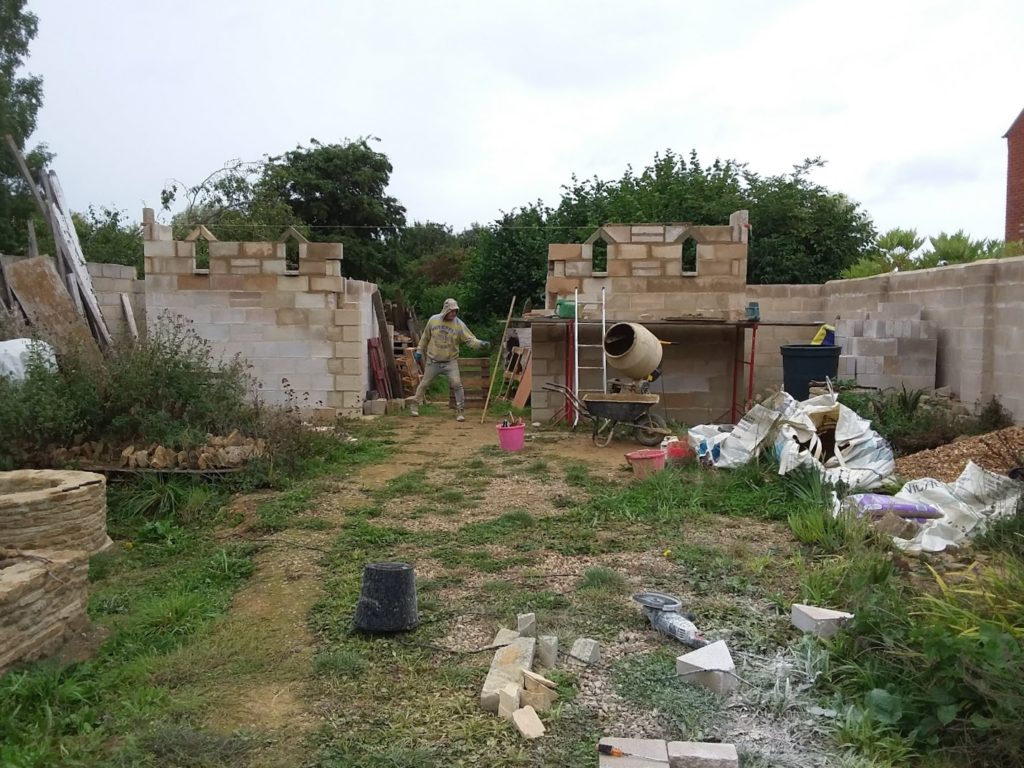
Having built the arch, the next step was to build up the wall around it, which involved lots of fiddly jigsaw-type cutting and fitting of blocks.
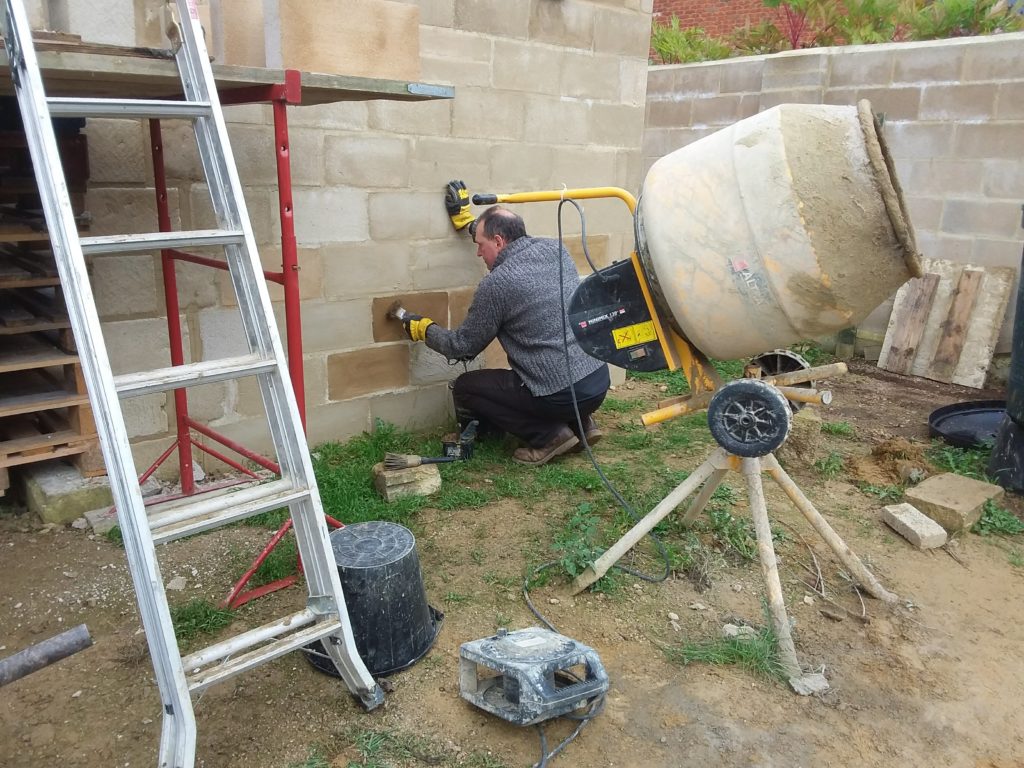
Coating the wall blocks with coloured render so they look more like stone and less like breeze blocksA local cat, unfriendly, who hangs around all the time but we don’t know its nameTinky, a friendly and vocal local cat. But today he wanted to go about his business.Tea, an essential ingredient for all building works
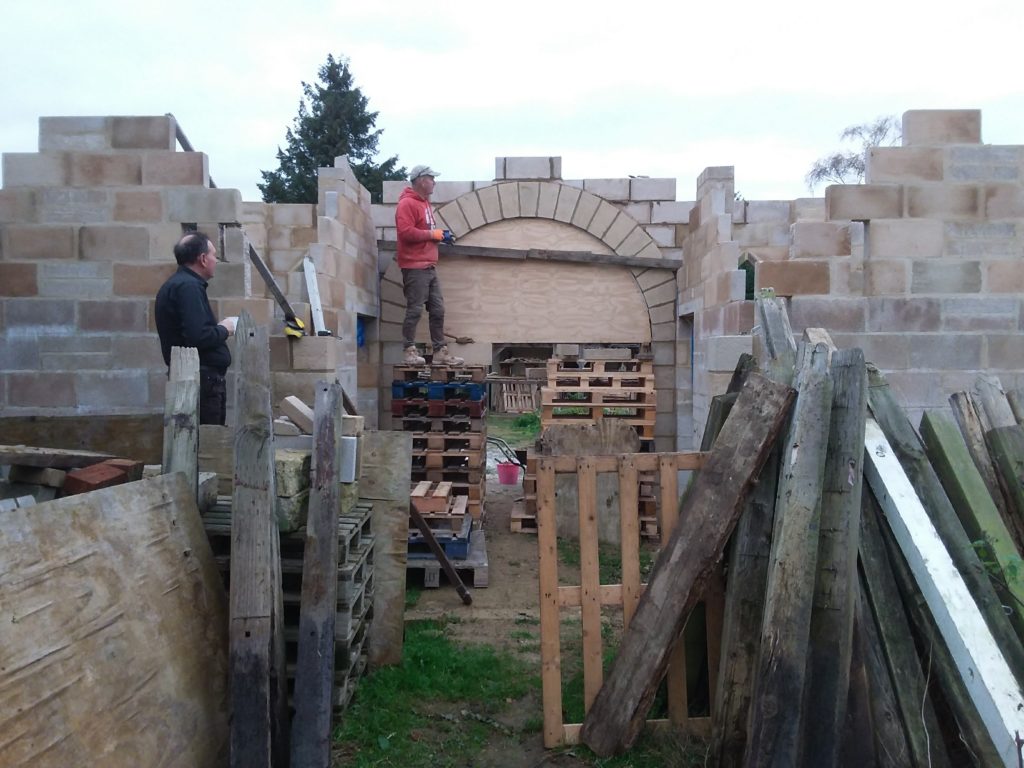
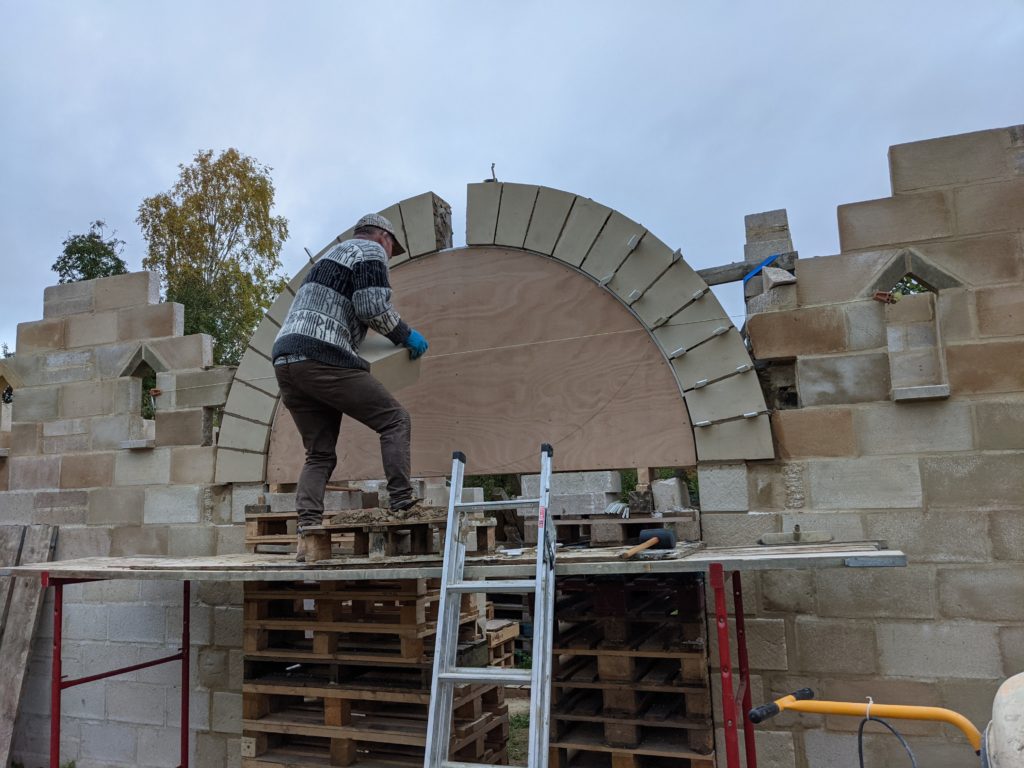
You will remember from my previous post that “voussoir” is the technical term for shaped blocks to form an archway, and ours were cast in artificial stone by the fabulous people at Bespoke Concrete. Tuesday November 9th was the great day when everything was ready and Chris arrived bright and early to try to build the entire arch in one day. Splitting it into two days build would have been possible but we all felt it would be much better to complete it in one go instead of leaving part of an arch overnight. This was a good decision.
We chose to build the arch out of just one type of block as it made designing and sourcing the blocks easier. So the springers (the bottom stone of the arch on each side) and the keystone (the top centre stone) are all the same slightly trapesoid block.
If you’d like to see a real Roman arch in Britain, go to Lincoln where are not one but two Roman gate arches dating back to the third century CE still in place. Aren’t they fab?
The left springer in place
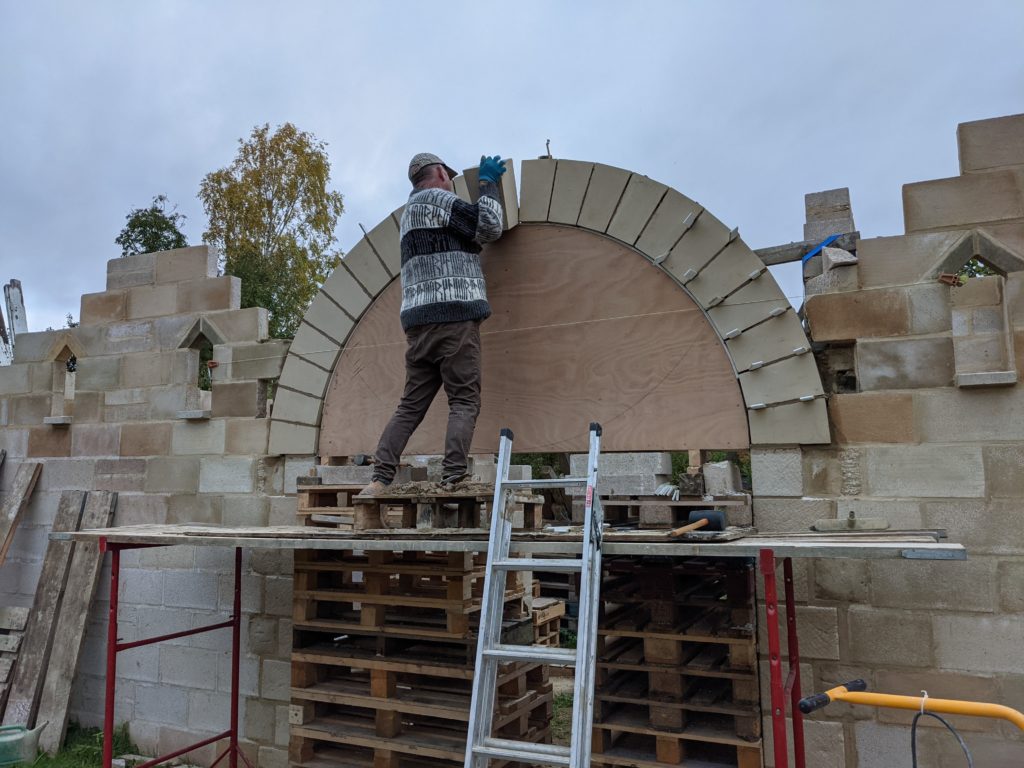
The block above each springer had to have a section cut out to fit against the lintels over the doorways to the side chambers. Al made templates to facilitate accurate cutting. The cutouts don’t show from the outside. We’re a bit pinched for space so everything is squeezed in a littler closer than would be ideal.
The right springer in place
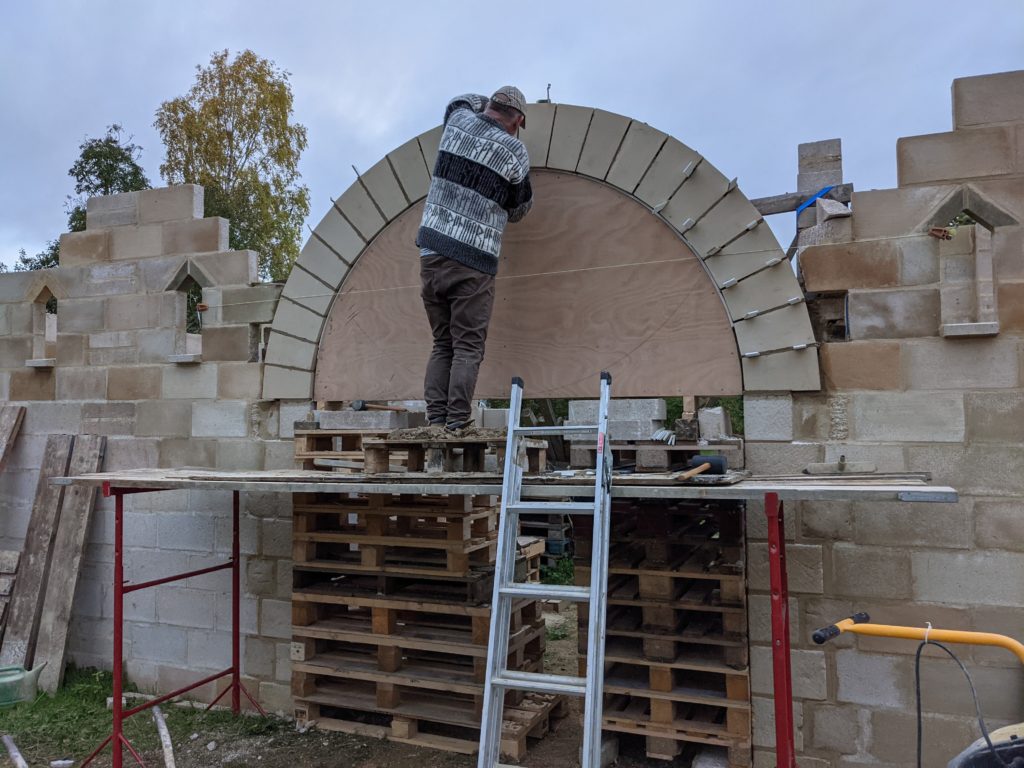
We did not realise it at the time but these photographs reveal another significant error on our part. Do you see what it is? If not don’t worry, you’ll find out at the same point we did…read on…
Al ready to assist with lifting blocks, cutting templates, mixing mortar and other tasksHouston, we have a problem…
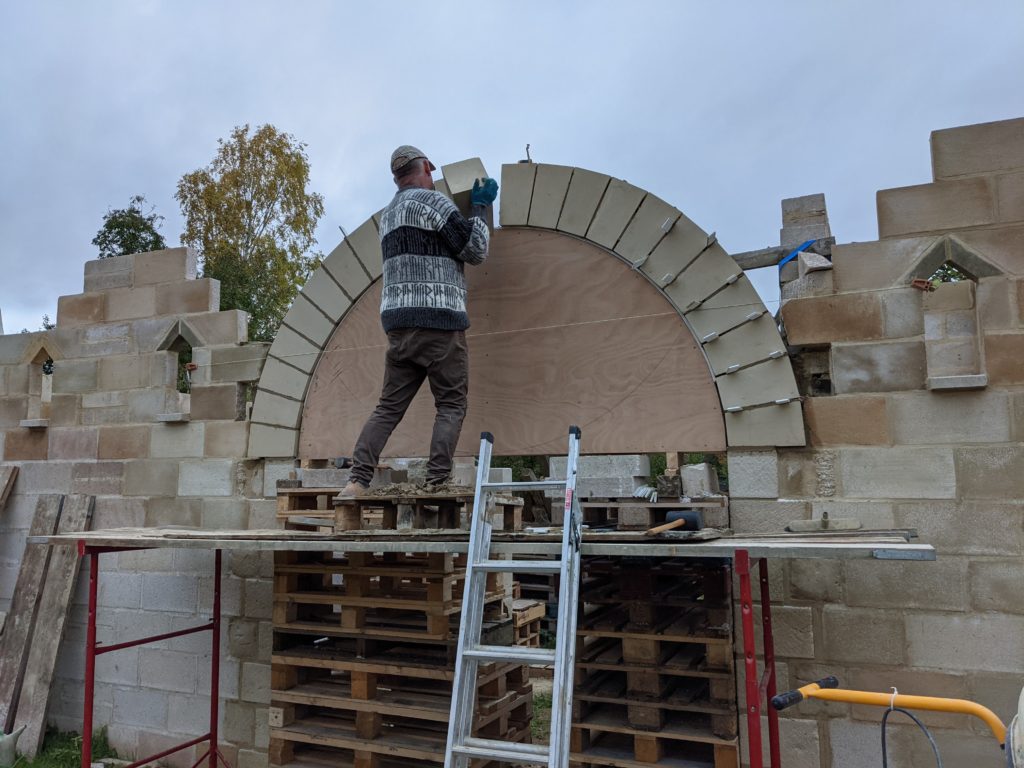
It was around this point that we realised that by aligning the bottom of the former with the top of the pillar blocks, we had effectively reduced the height of the arch by 20 mm. The former should have been raised 10 mm above the top of the pillars so the springers were aligned with the bottom of the former, but the springers were actually 10 mm higher because of the mortar layer on top of the pillar blocks. This meant there wasn’t room in the middle for the final keystone. Fortunately, the mortar was all still wet so Chris was able to nudge the blocks either side and reduce their spacing enough to slot in our keystone. It shows just how easy it is to make a mistake on an unfamiliar project.
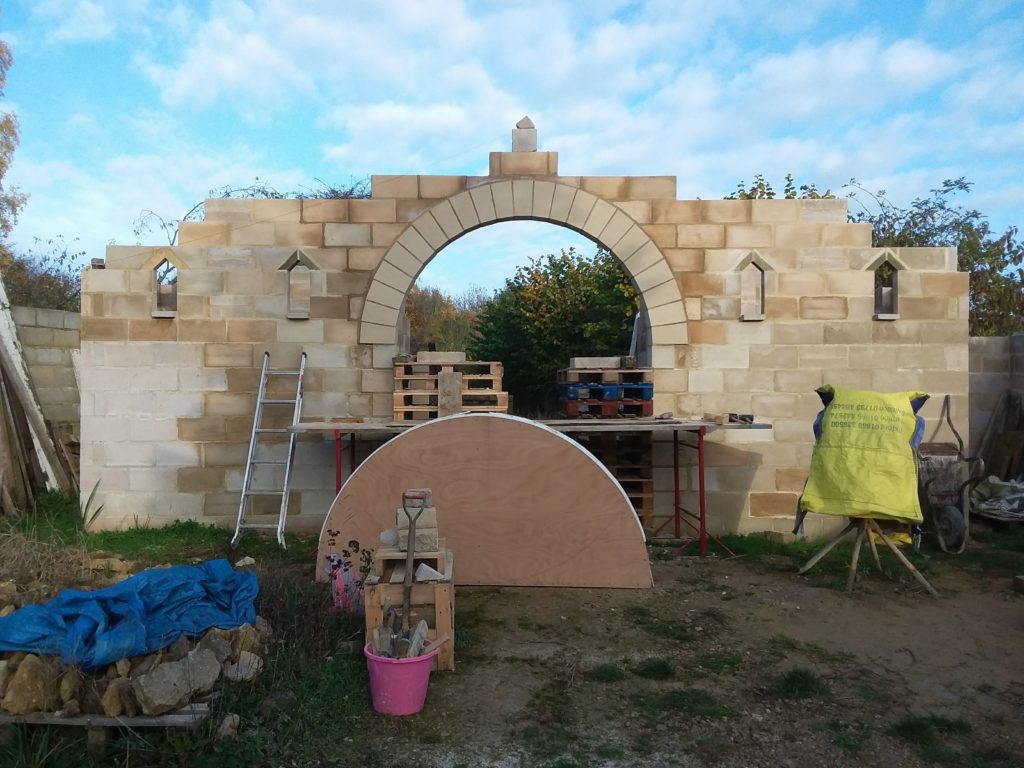
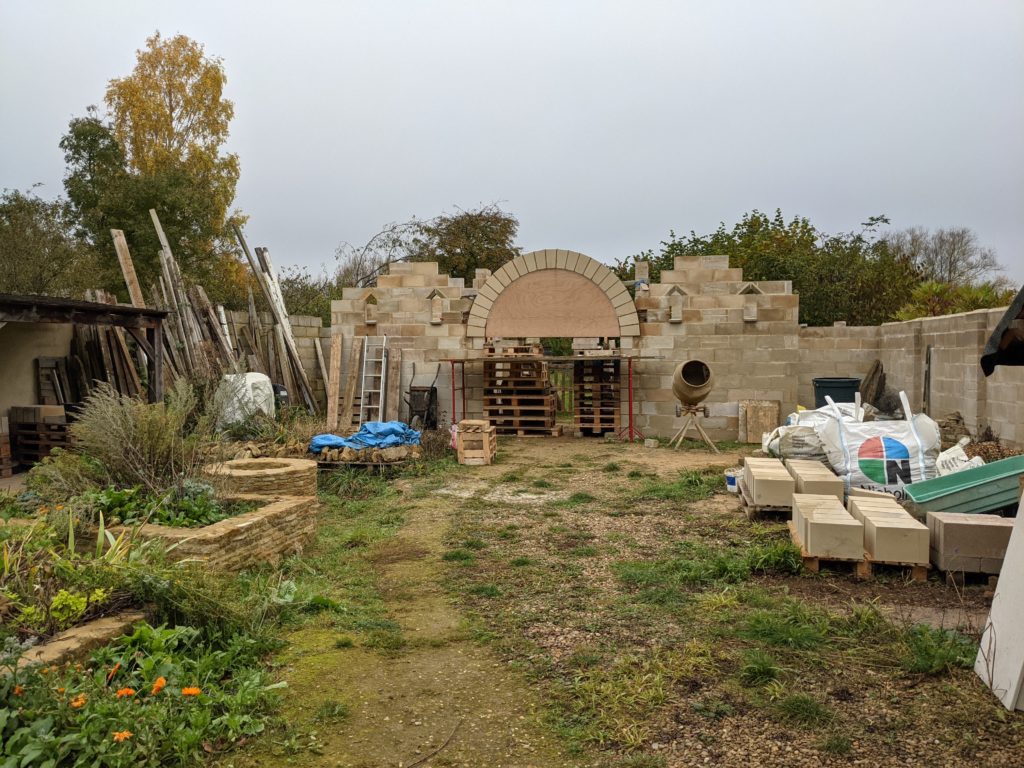
These blocks are heavy; don’t try this at home unless you really know what you’re doingThe arch completed!The view from the orchardNext day, with the pointing done
Here’s the arch finished; this photo was taken the next day as Chris did all the pointing and filling in of gaps where the spacers had been between blocks after dark, by the light of one of they modern LED battery-powered work lights. Yay for modern technology!
Chris has built arches before but not this scale, and the entire process was new to the rest of us. Logic, trigonometry and first principles got us a long way, but lack of experience caused us to make several mistakes. These were fixable, but cost us time and stress; fortunately Chris’s skill and Al’s ingenuity saw us through. Overall though, we’re jolly happy to have a Roman arch!
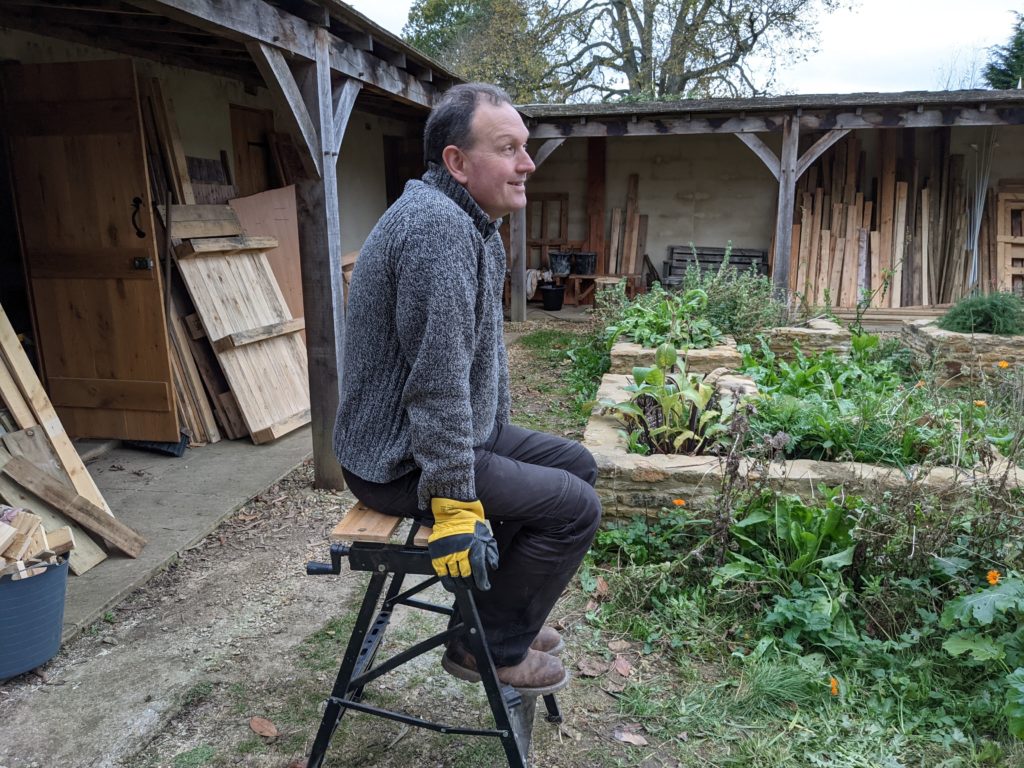
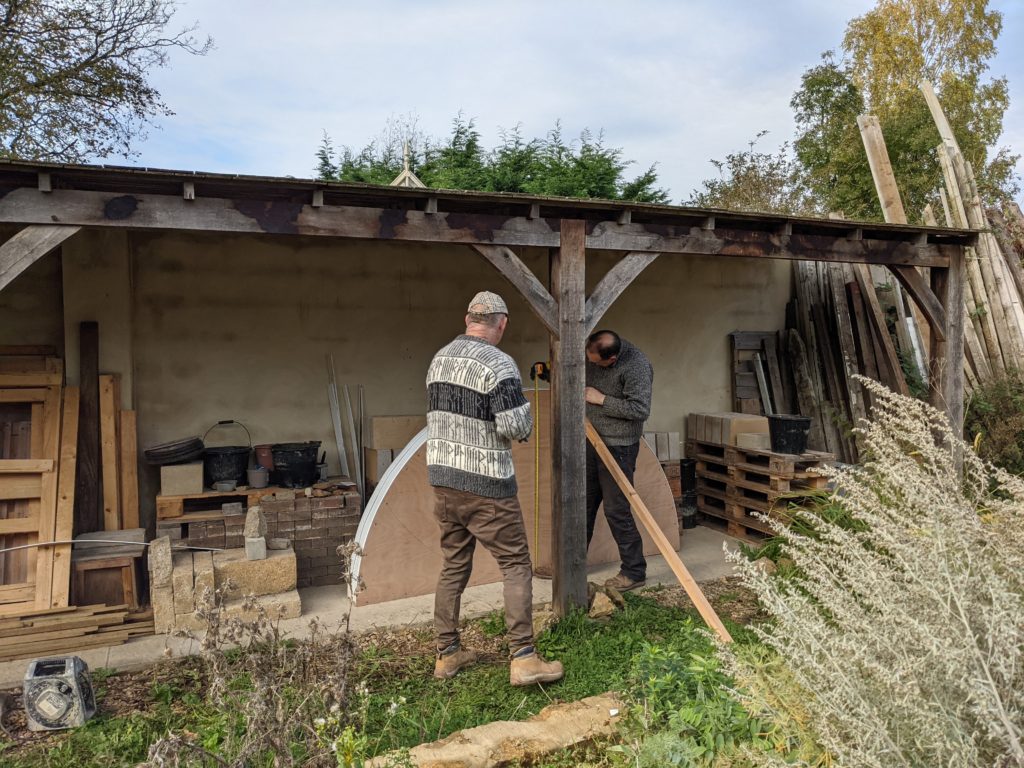
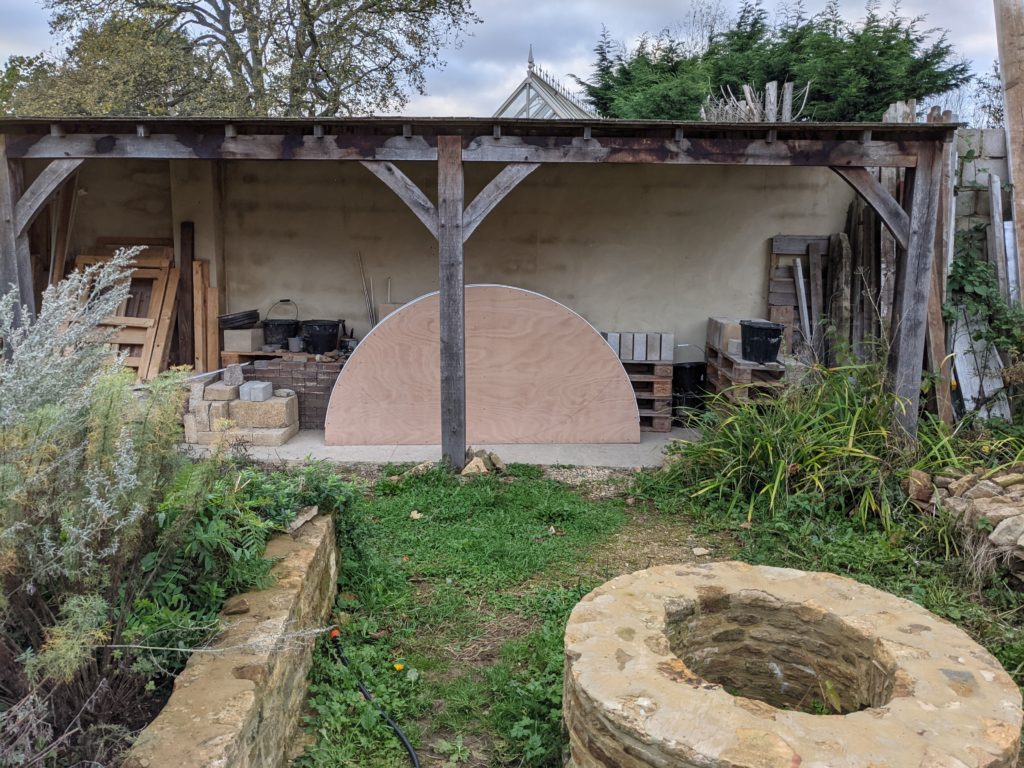
Preparation is the key to success…so the first day of arch building was dedicated to checking the blocks against the “former” (the timber semicircle to support the arch while it is built) and getting the former firmly set up. Note Chris’s sweater, which is a Judith Glue special and says “Uurkni” meaning “Orkney” in Maes Howe viking runes. Bloody Vikings, coming over here building our Roman gatehouses in our Anglo-Saxon monastery sites…
The first mistake…
In the photo above, Al and Chris are discovering our first notable mistake, which was my error. Dave made the former as a semicircle of the right size for the blocks, but I mistakenly thought it should be checked against the opening between the pillars and it ended up slightly differently sized. This caused problems as it was now too small for the blocks. Luckily Al had scavenged materials in store and was able to add a thin layer of flexible plastic strip to correct the size of the former.
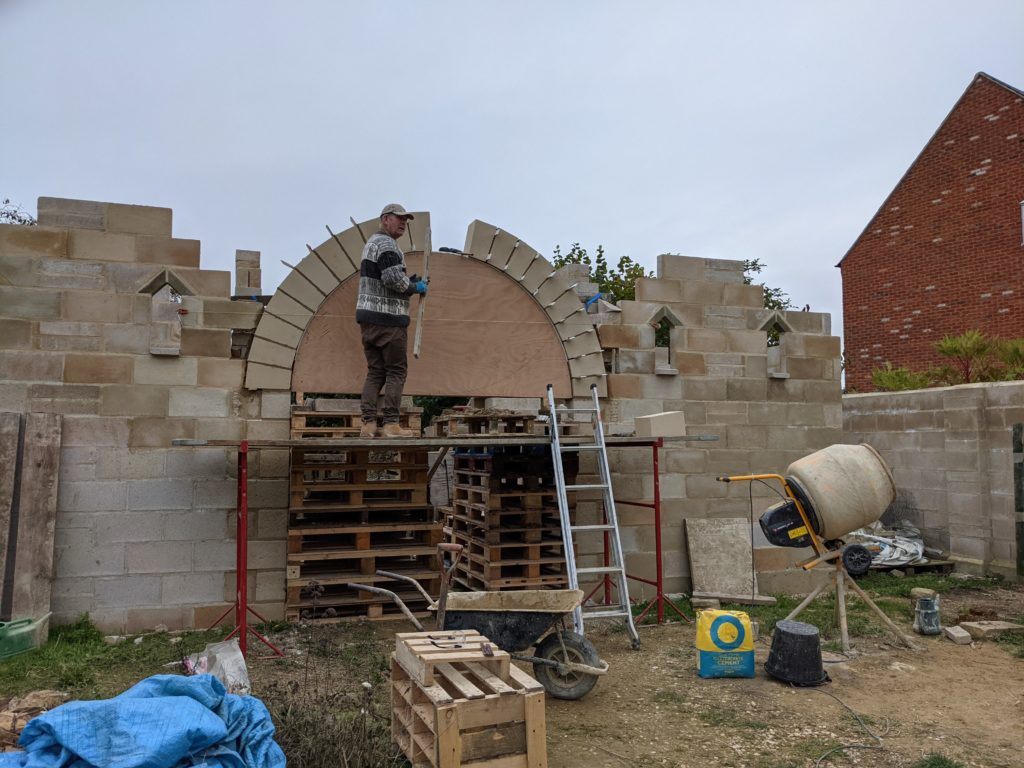
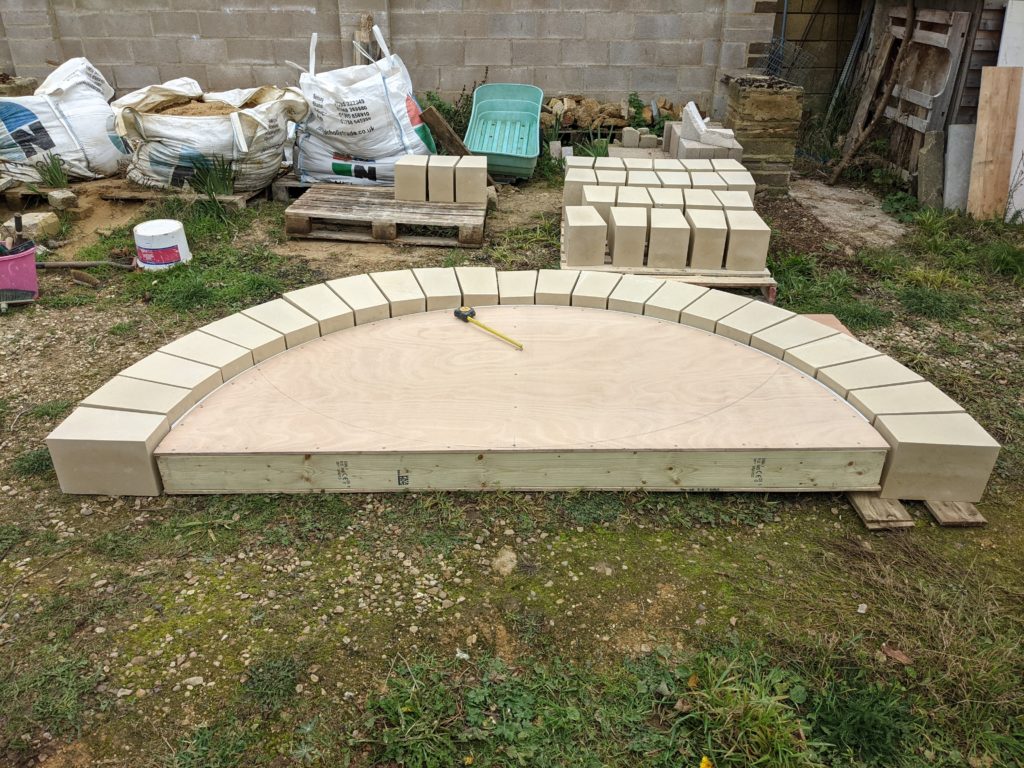
Voussoirs ready, and a platform being built to support the formerChecking the voussoirs against the former
The easiest way to be sure that the blocks would fit around the former was to lay them all out on the ground, rather than risk finding out there was a problem after lifting the heavy blocks up. This process was good in principle but we did make another mistake which came to light the next day.
Former in place, with supporting timber being set up to hold it firmly
It took Chris and Al a full day to fettle the former to the right size, check everything and get it in place ready to lay the blocks the next day.
The quest to source our voussoirs has been long and somewhat fraught. What’s a voussoir you ask? It is a shaped block for forming an arch. We could have gone for a rough ring arch, like those built by the Anglo-Saxons at Brixworth church (more photos here) using reclaimed Roman stone and brick, but our hearts were set on a proper stone archway for the gatehouse, as you’d find in any good stone Roman fort. The cost of actual hand-carved stone being prohibitive, Al cast the straight blocks for the pillars out of an artificial stone mix, setting fossils into the surfaces for extra verisimilitude. These are fab but took a lot of work and the making of angled moulds proved too much of a project for us. So there followed a trawl of t’internet for people offering custom cast concrete blocks, and we absolutely lucked out by finding Bespoke Concrete who cast our voussoirs in a beautiful buff artificial stone which looks pretty much exactly like Bath stone.
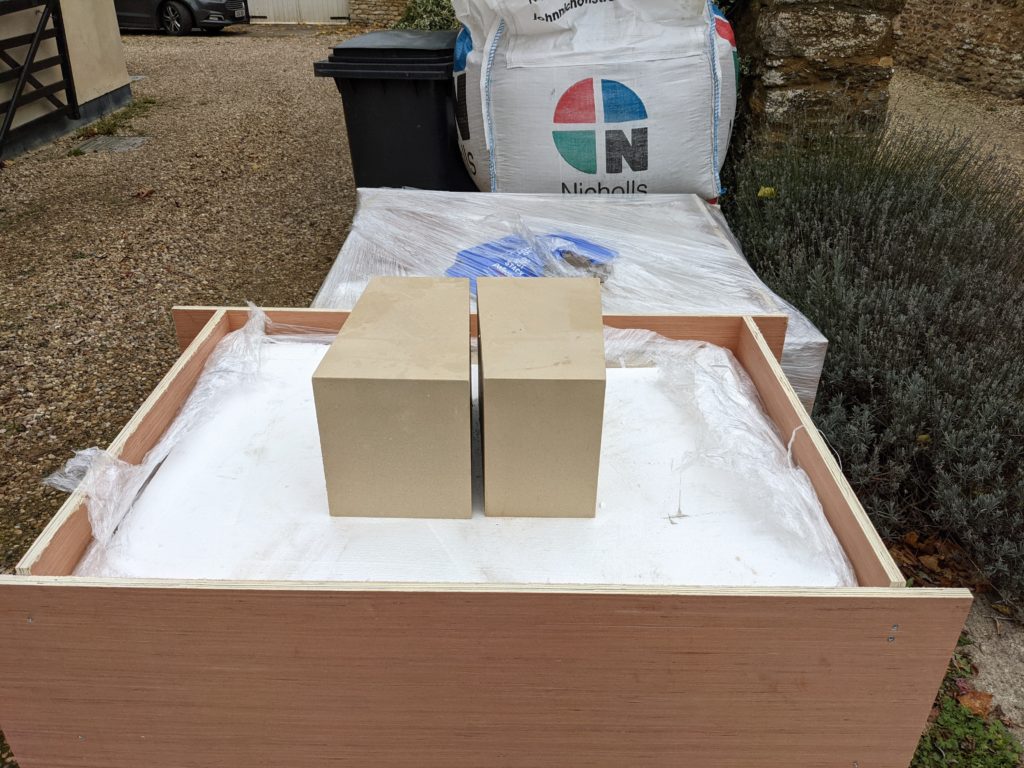
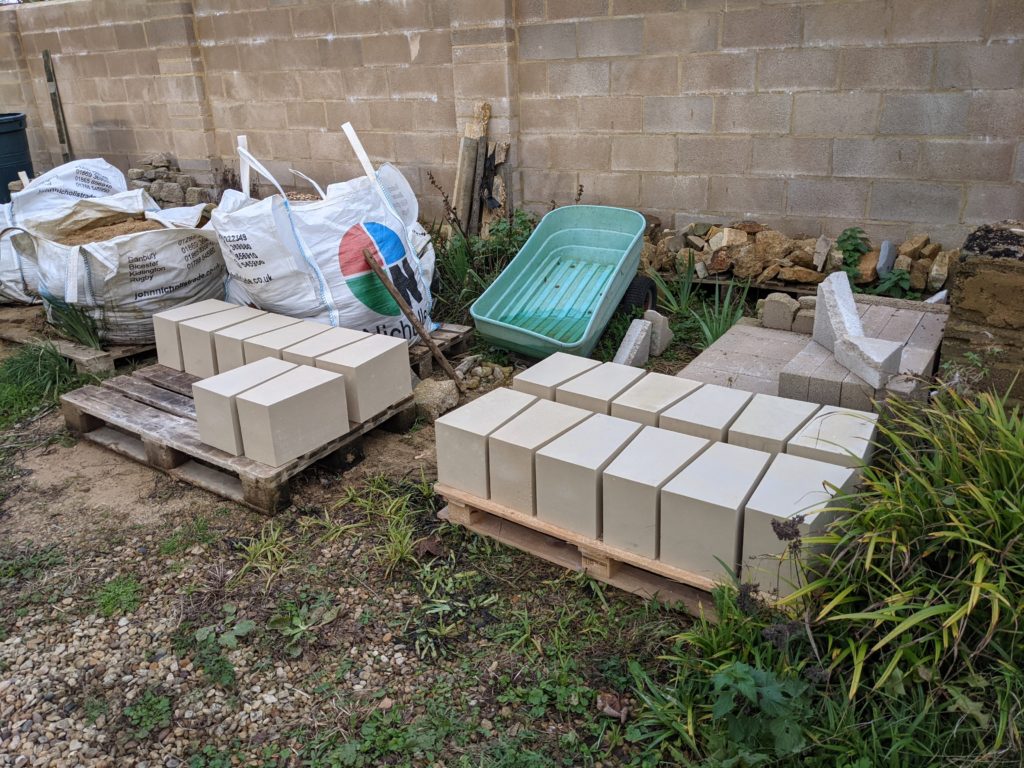
Our voussoirs have arrived!
It was very exciting when the blocks were delivered on Friday; we did our trigonometry as carefully as possible to work out what size and shape the blocks should be to form the arch, and there was no reason to think anything would go wrong with the manufacturing process, but it was a great relief when we saw that they are indeed exactly as we wanted. Top marks to the folks at Bespoke Concrete, they did a perfect job.
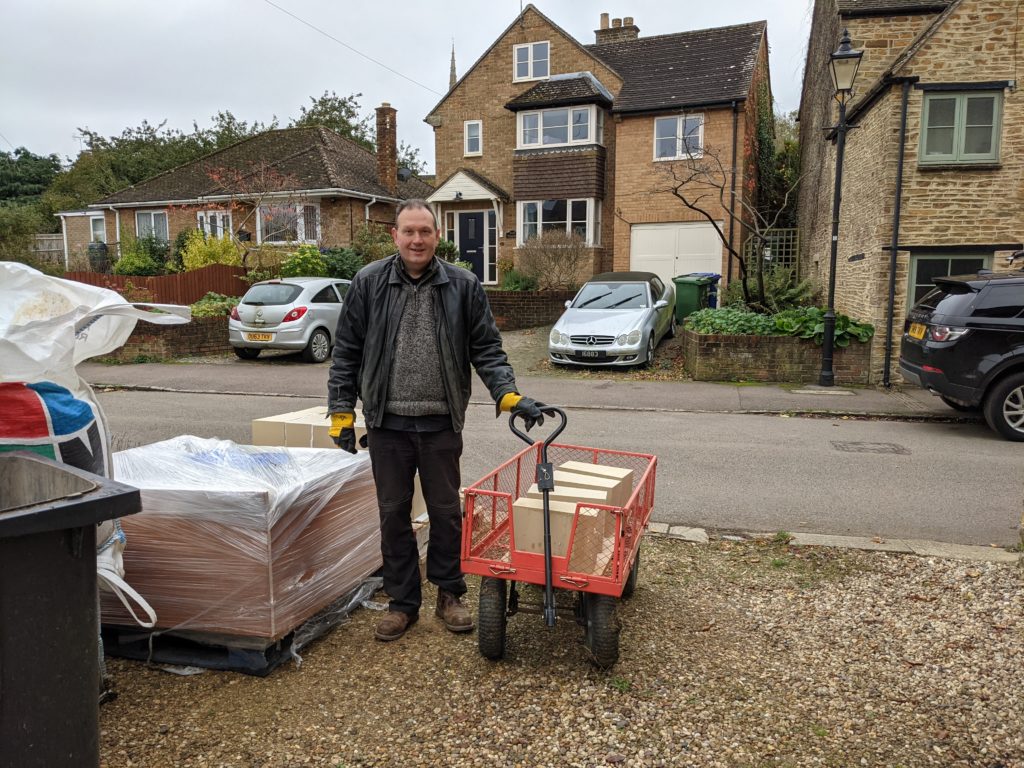
Transportation from road to RumwoldstowReady for the buildThe open archway; the vertical blocks are hand-cast concreteThe wooden former to support the arch as it is builtThe outside of the gatehouse
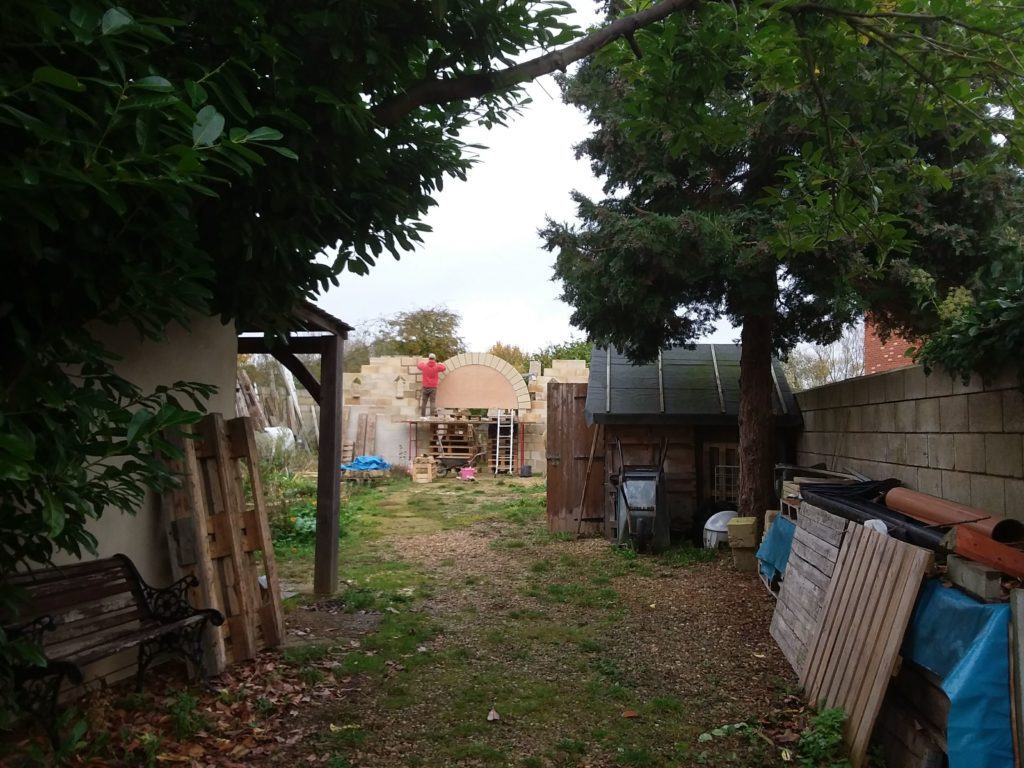
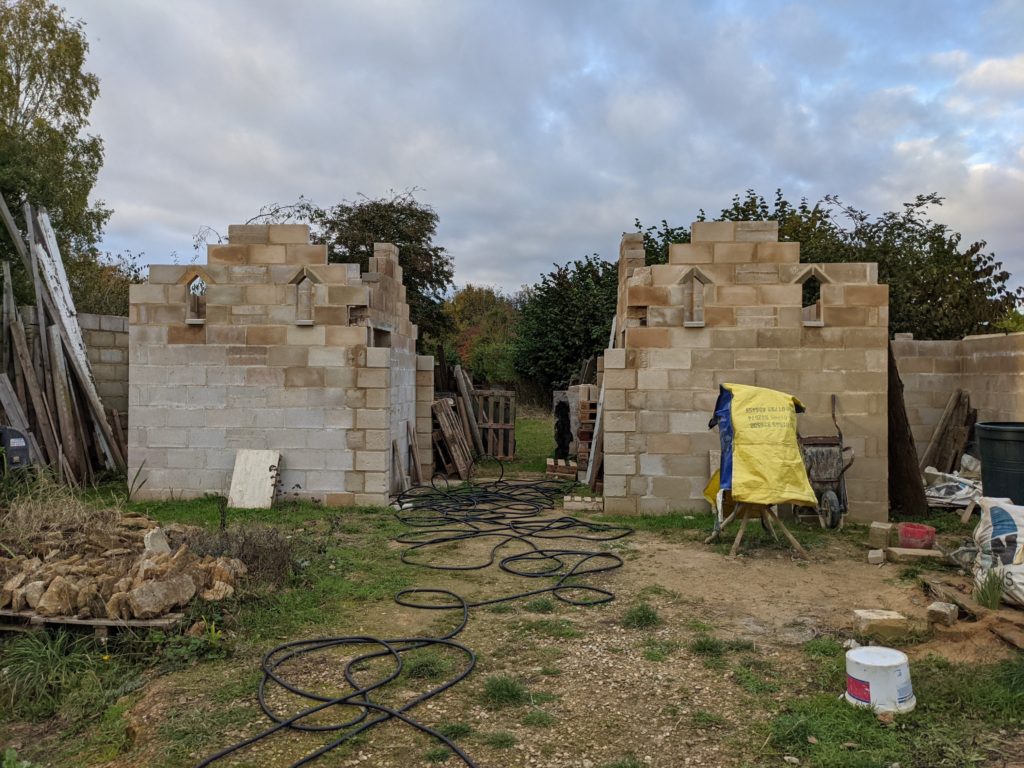
Despite the rain, Chris the stonemason is back at work on the gatehouse. Little Anglo-Saxon windows! I guess the Roman gatehouse must have been in a semi ruined state when the builders of Rumwoldstow got to it, so they reconstructed it using the techniques with which they were familiar. Well, and a cement mixer…
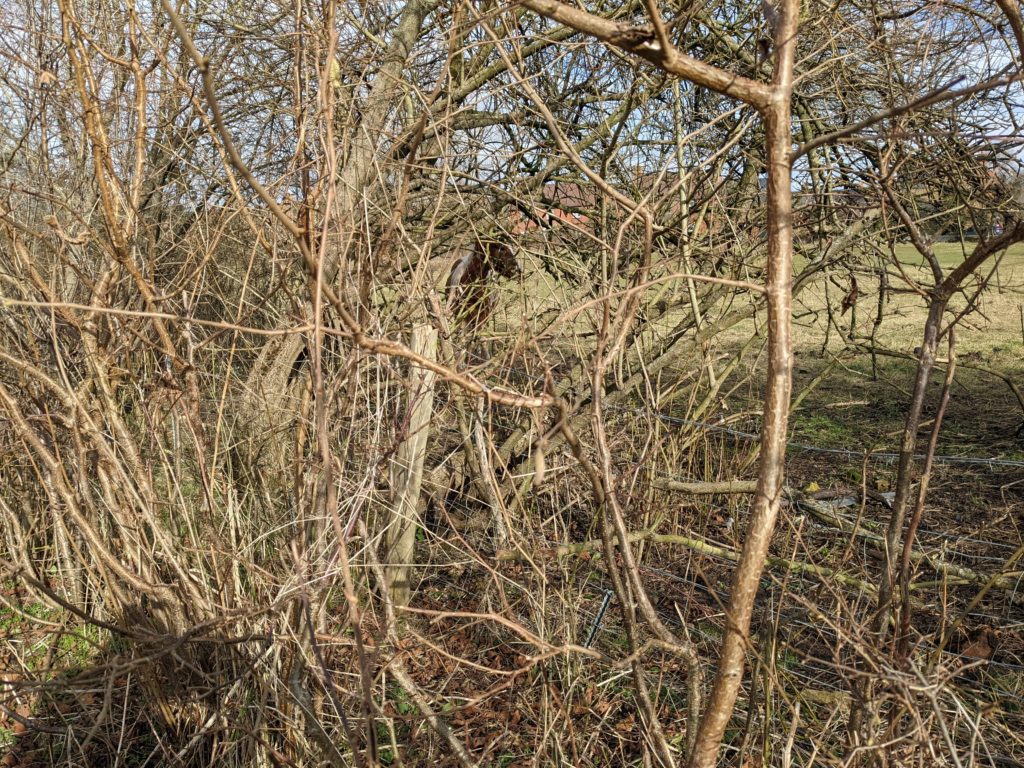
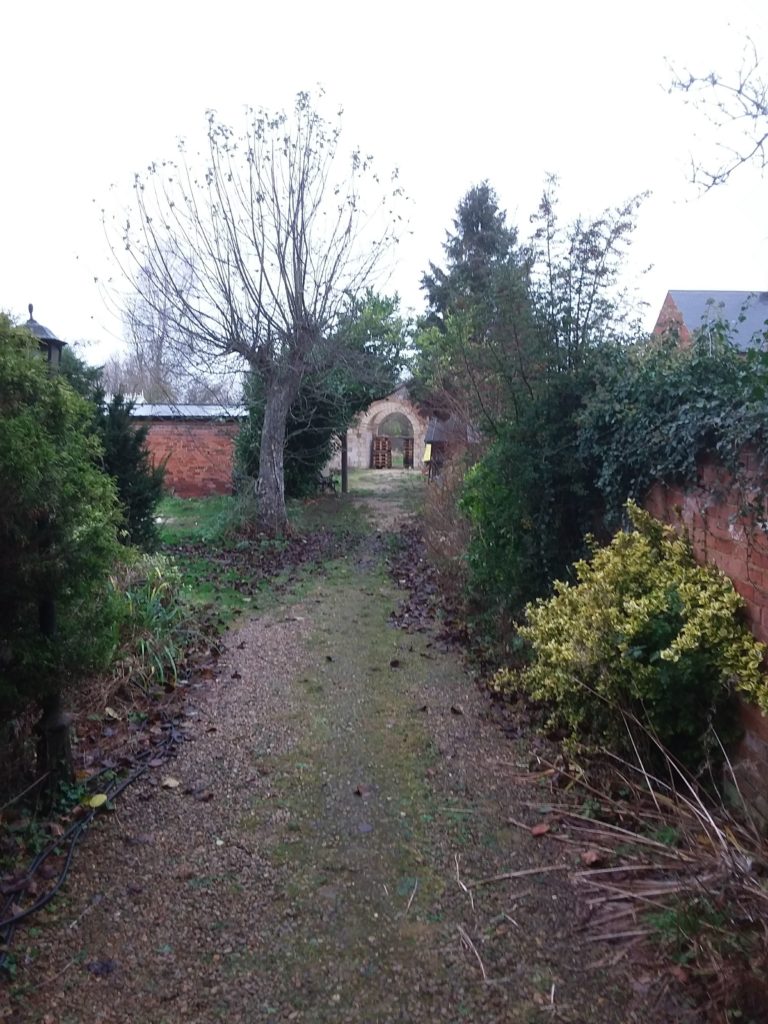
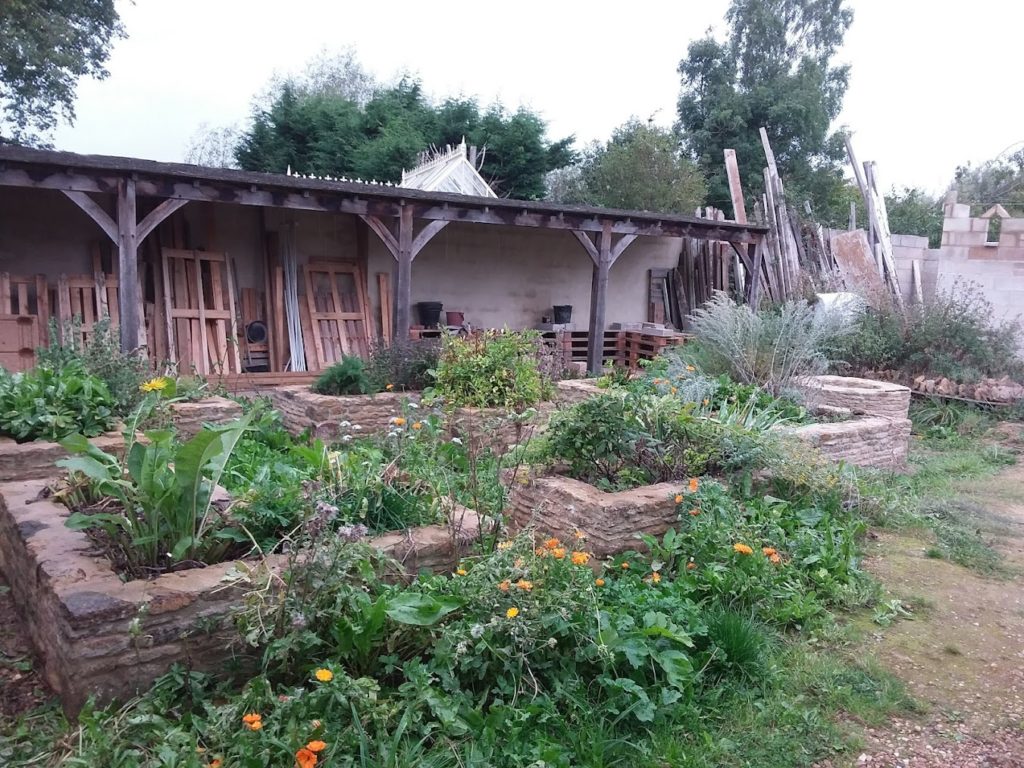
Despite some pruning and weeding, the garden is still…quite good for wildlife? Ahem.